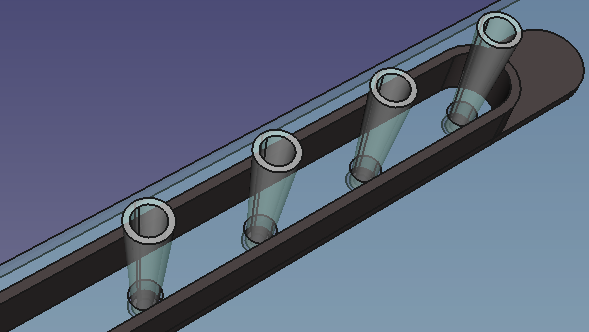
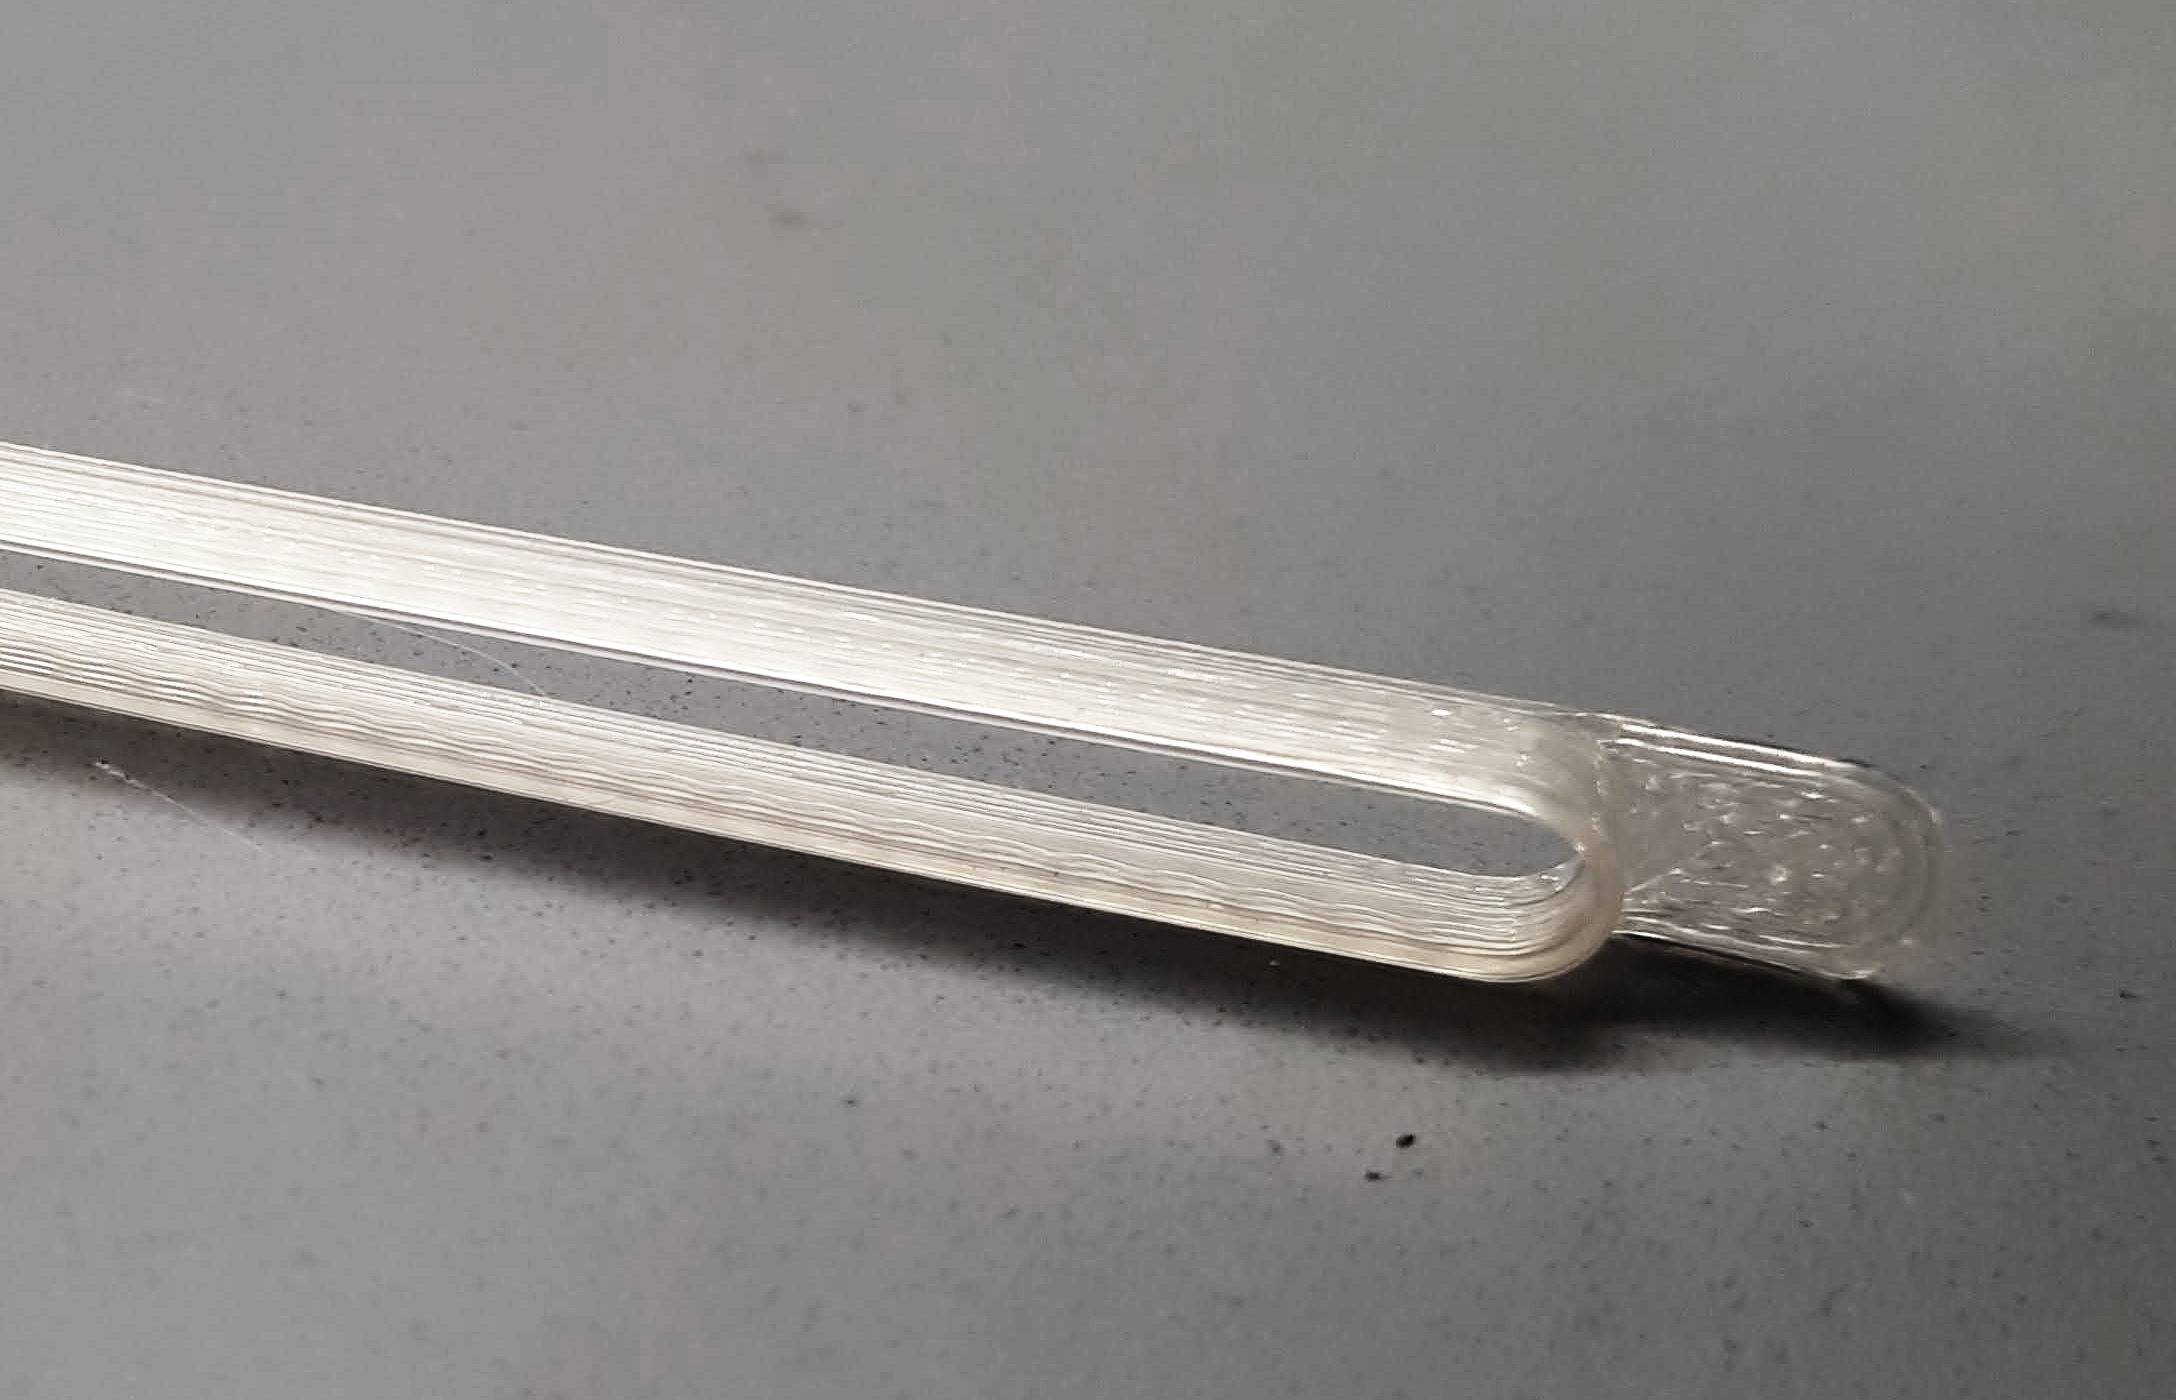
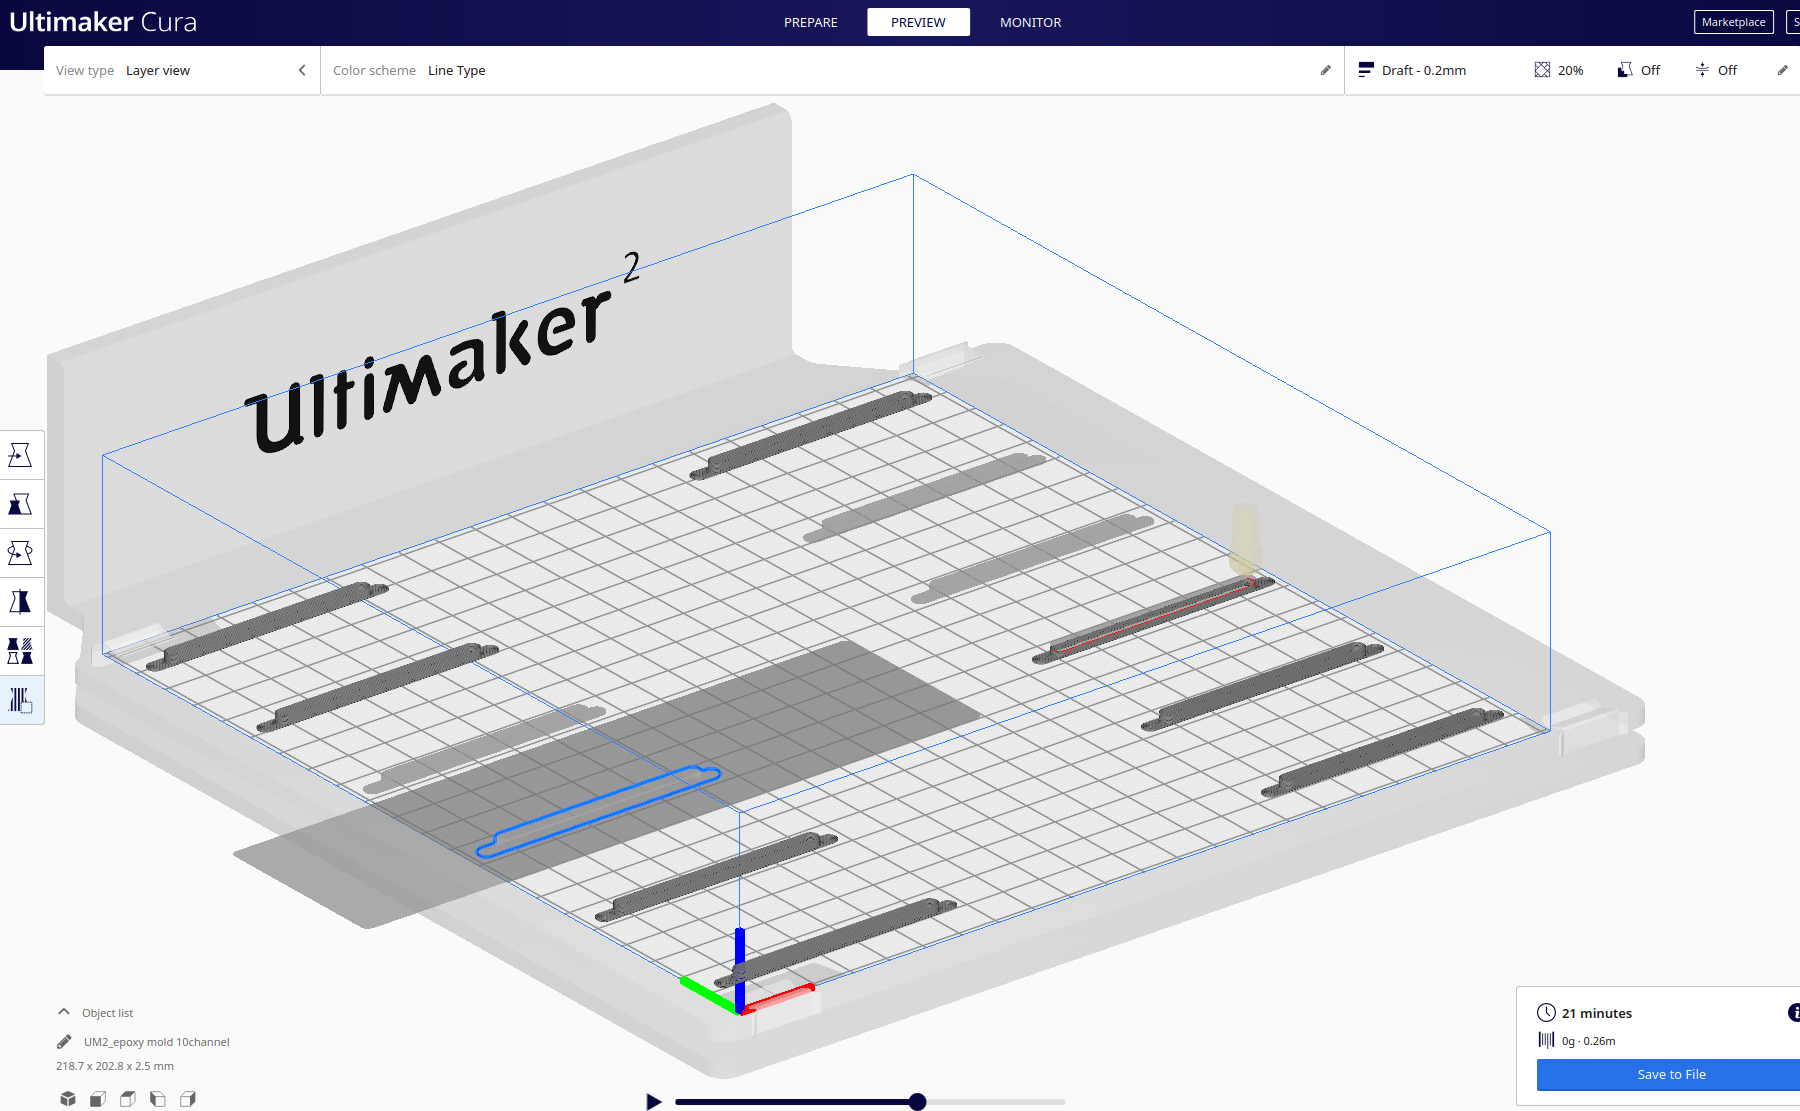
I would like to 3D print a small thin tub/mold for an epoxy resin. I have tubings inserted into holes, and I need to fix these tubings securely with epoxy (see picture below). The space is very limited, and the whole assembly must have a smallest possible footprint, so I have to confine the epoxy from spreading to the sides - that's why I need a tub. The tub itself must have as thin walls as possibly for the same reason.
The wall thickness is constant, so theoretically the nozzle could just make one single loop to print a layer, and then move to the next one. Kinda a spiral motion. It seems to be so simple! How do I get the slicer (I use Ultimaker 2 with 0.4 mm nozzle, CoPA material, and slice in Cura 4.6.1) to produce single outline walls?
I tried so many things, but I couldn't get this.
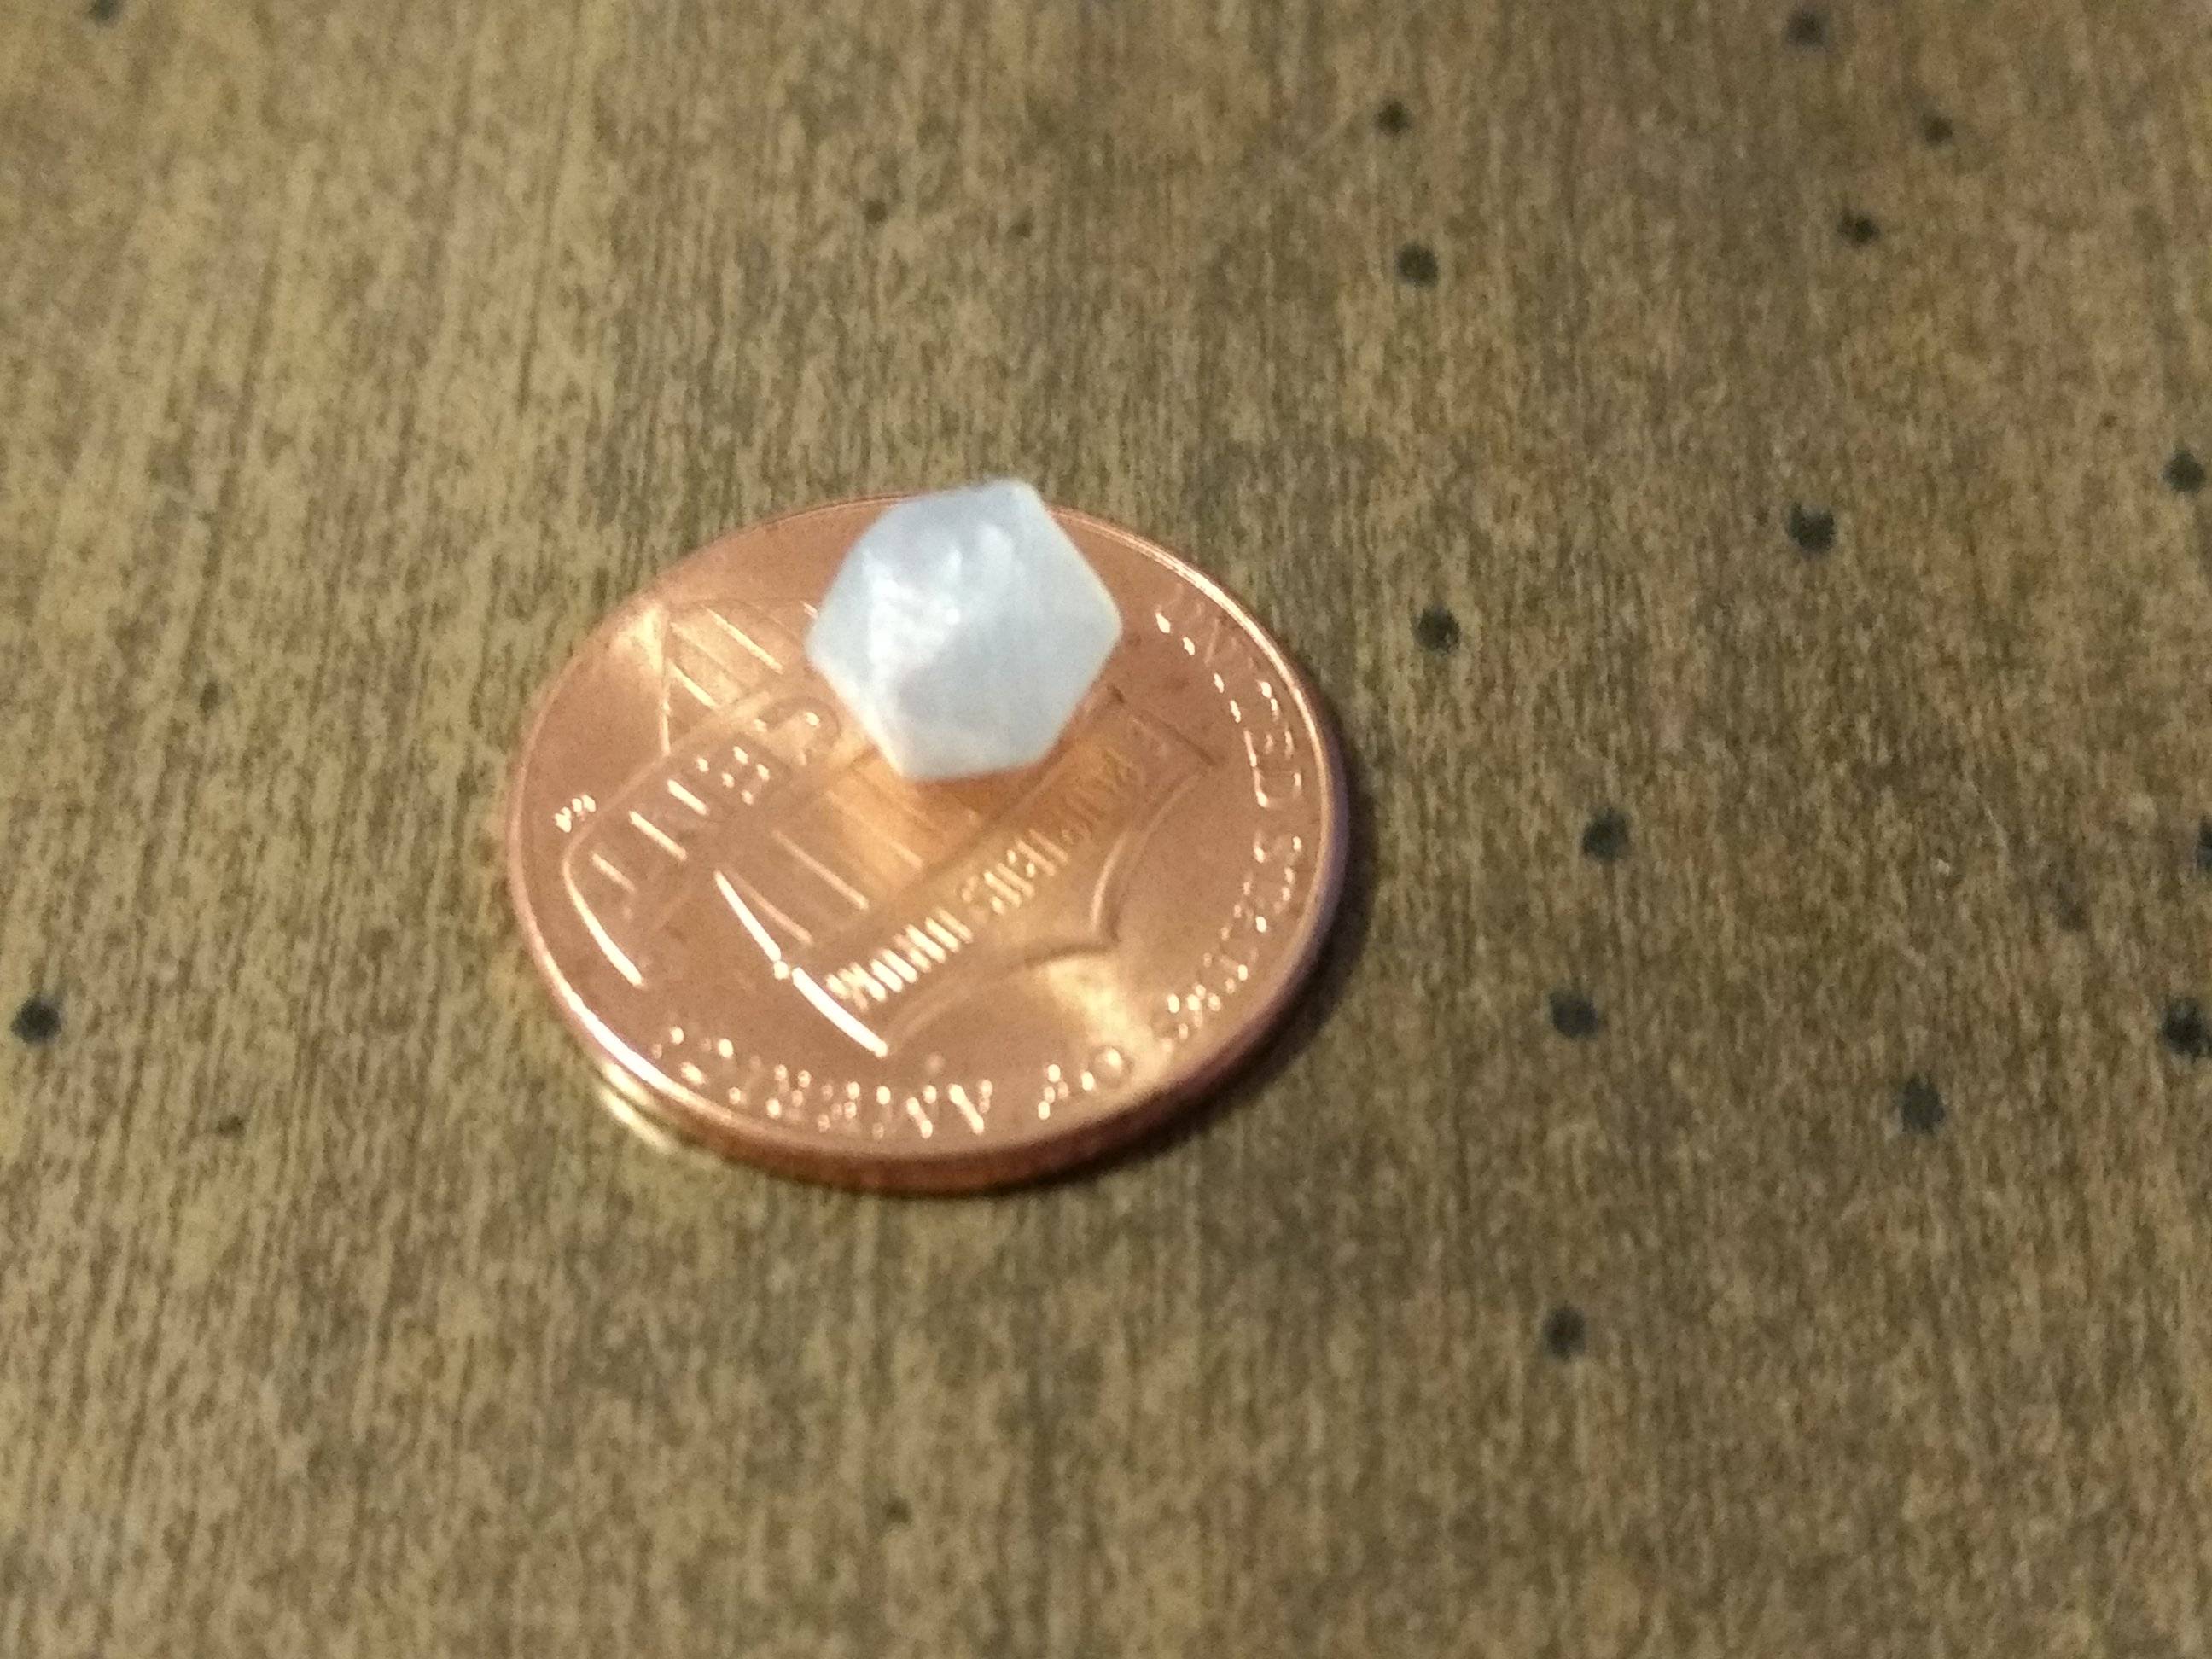
With the default settings for 0.2 mm layer a 0.4 mm wall (or thinner) will not be printed at all (left - 0.35 mm wall, middle - 0.4 mm, right - 0.45 mm):

Occasionally even the 0.45 mm-thick wall gets excluded from the print, which is really bizarre:
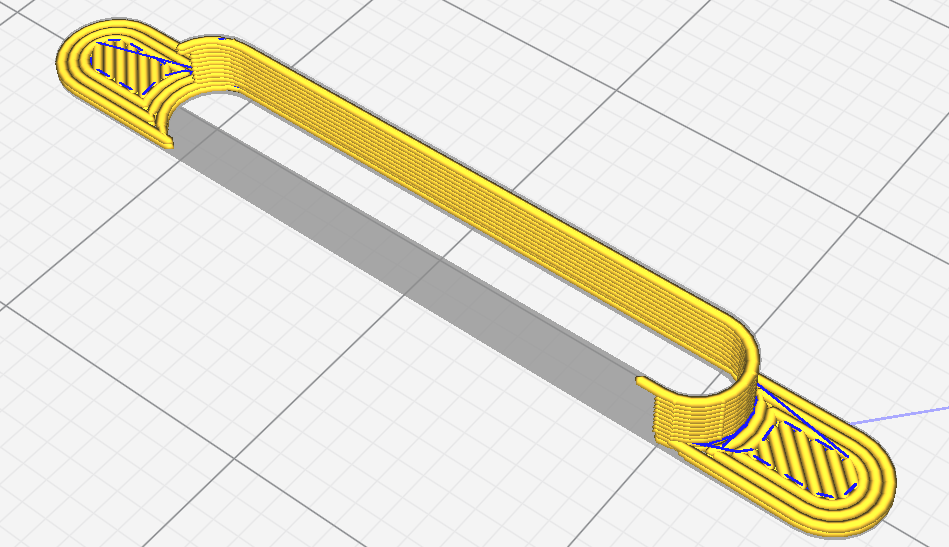
If I make the wall thicker, then the slicer tries to pack two discontinued lines next to each other, which is even worse. Cura has an option 'print thin walls', but this results in jerky, discontinued tracks.
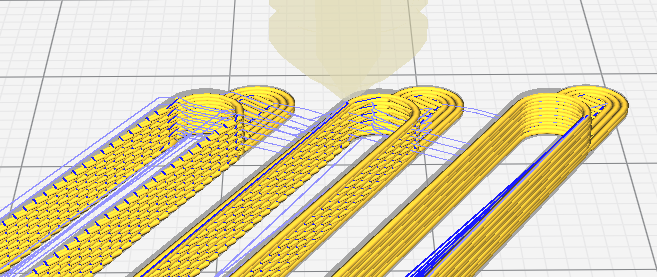
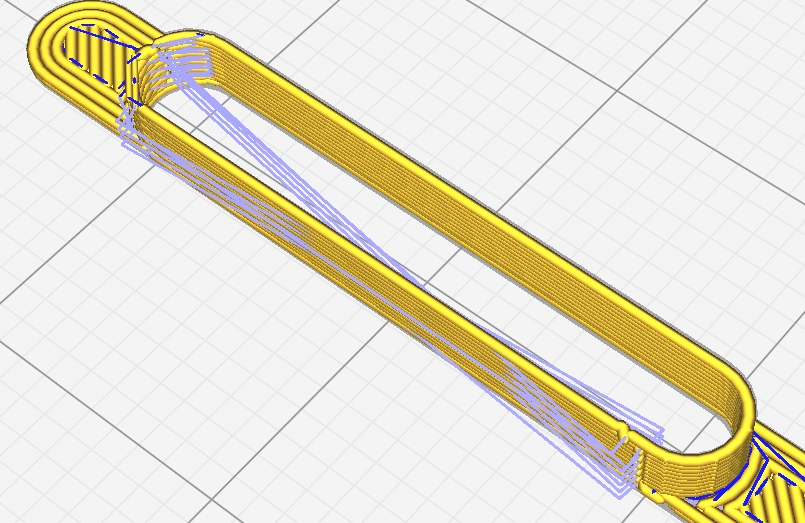
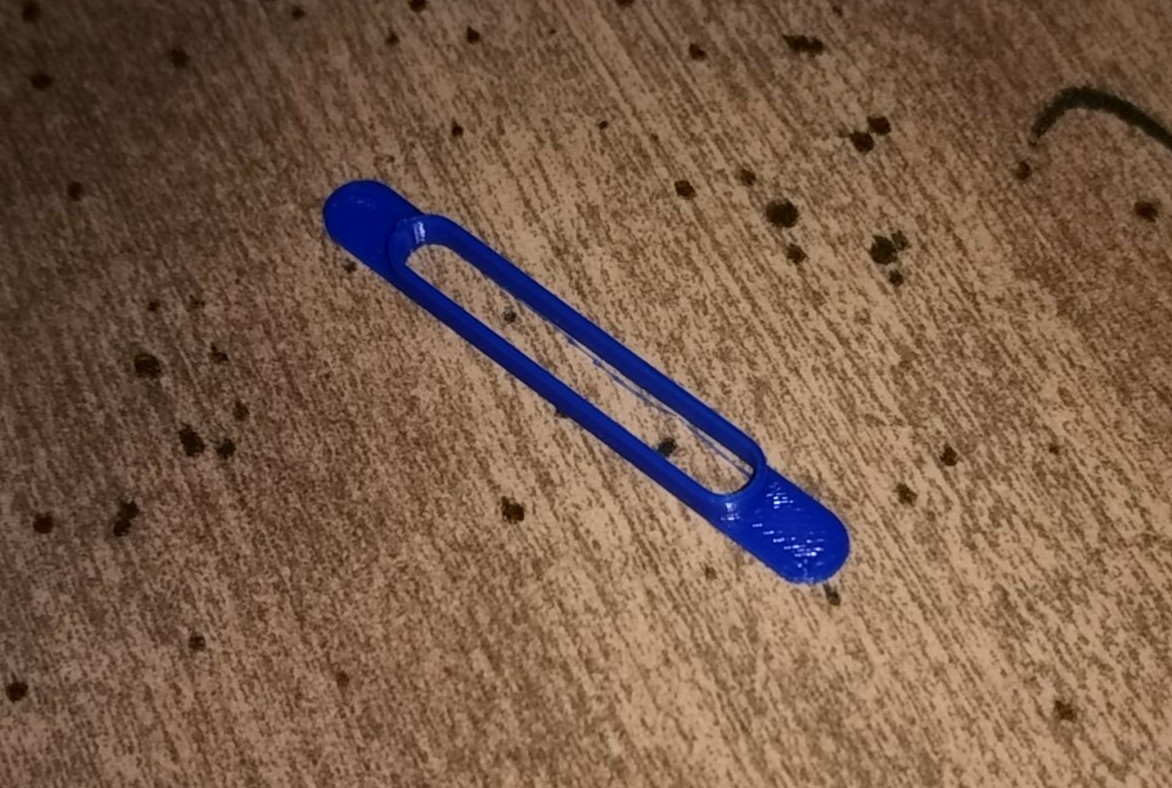
At the moment I print 0.45 mm walls with the 'print thin walls' option turned on, this is the closest to what I need that I could find so far.
This may look fine in Cura, but the result is pretty ugly due to the additional nozzle movements... I really don't understand why the printer has to do them. It prints the outline, then jumps to the 'corner' and deposits a blob there. I can carefully remove these blobs with a scalpel, but come on, this is a disposable part and I need a ton of these!!!
If that helps, here is a link to a sample STL file with 450 μm walls.
