6
$\begingroup$

I am making a part that needs to come apart, so I don't want to use glue or similar adhesives. I saw an article about printing snap-fit pieces, but it seems like you would need a lot of expertise to make it work well. Does anybody know of an easy way to non-permanently attach PLA parts, while still maintaining a sturdy connection?

EDIT: (more detail about specific project) I need to attach plastic to plastic, in a pretty small surface area. This is a prop knife/sword in which the "blade" retracts into the handle. enter image description here For the prototype I printed the handle in two halves lengthwise, which I do not want to do for the final product. I want to print as much of the handle in one piece as possible. Because I need to get the blade into the handle (and remove it for working on parts, painting, etc) I need part of the handle to detach. I am thinking that the front bit (examined more closely below) would be the best place to detach. enter image description here As the wall thickness is about 1/4 in, there is not a whole lot of room to work with. However, I remain hopeful that there is a way to attach it such that it will remain securely together and retain the "blade" properly.
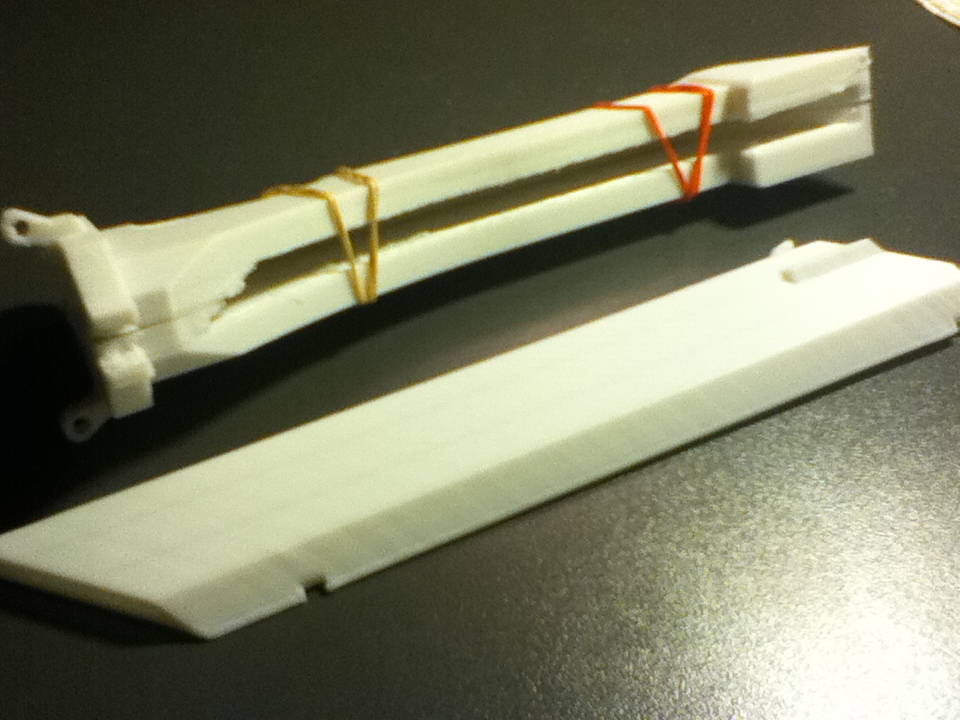
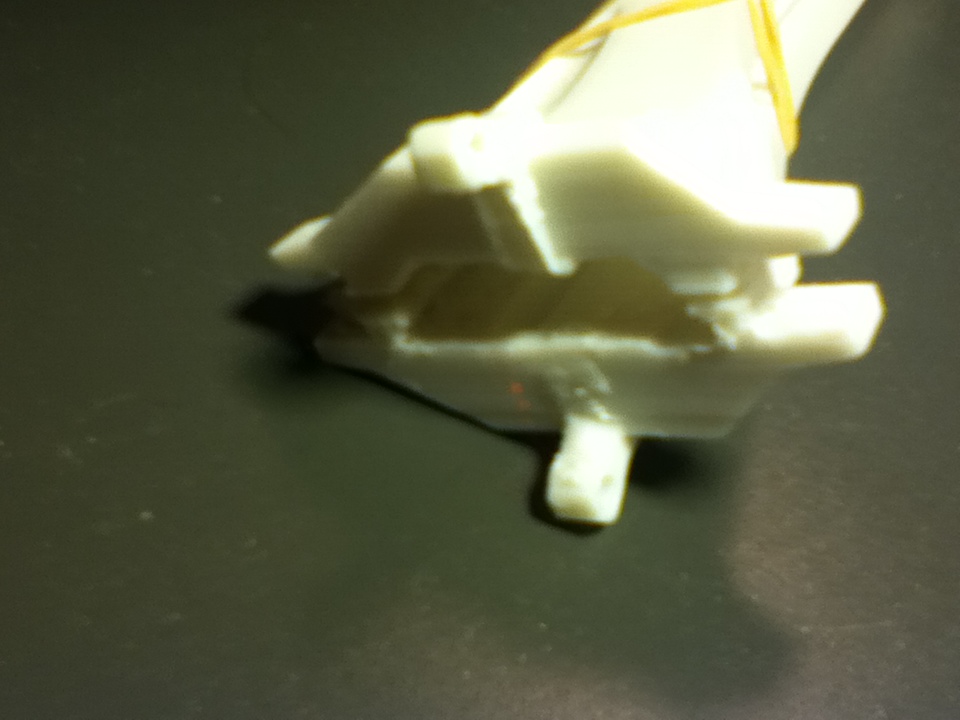
Thanks for the help so far.

$\endgroup$
1
  • $\begingroup$ This seems quite similar to Designing Clips that Won't Break. Can you give us more detail on what kind of part is being attached to what? Anything to distinguish it from the existing question on the subject? $\endgroup$
    – emackey
    Commented Sep 19, 2016 at 0:43

1 Answer 1

2
$\begingroup$

This question may yet fall into the too-broad category, but I'll give it a shot.

You don't want to use glue or adhesives, but does that exclude bolted or screwed fasteners? Threaded inserts are metal "nuts" with knurled grip extrusions that enable one to use a matching bolt. The insert is heated with a soldering iron or similar source and embedded into the part. It's especially useful when the part thickness provides sufficient strength and the threaded insert is on the surface of the part opposite the bolt head.

Another option you have is to design into the part a "conventional" joint such as a dovetail or slot with the matching dovetail or T shape on the adjoining part. This requires access to the end of the part to enable the sliding action of joining them together, of course. Some testing of prints should be performed to ensure proper mating.

Directly related to that method is pins and holes. With suitable testing, one would create a hole on both parts and print a pin to match. If one is well versed in the software of choice, one hole with a built-in pin on the adjoining part would work too.

Yet another extension is provided free from 3DKitbash: http://www.3dkitbash.com/free3dmodels/ in the form of friction fit pins. I've constructed one of their models using this design and find the straight-line pins eventually work free. The pin model with "mouse ears" allows for a bit stronger gripping due to the compression of the shape on insertion.

The friction fit pins would be considered to be the snap-fit parts you want to avoid, but the level of expertise should not be beyond that of a model designer.

Trial and error works wonders when it comes to putting these things together. I printed an Overwatch logo for a fellow makerspace member. The part used a pin on the insert and a hole on the logo. I was astonished when the two different colored parts slid together quite snugly. I have not calibrated my printer and it was indeed a snap together build. On the flip side, when I pried the two pieces apart (low infill) the pin remained in the hole, snapping cleanly off the insert. Should I be asked to do this again, I would have much more infill on the pins.

For clarification, consider also to note what software you are using for your design. Some programs lend well to creating connections, others not so much.

$\endgroup$

You must log in to answer this question.

Not the answer you're looking for? Browse other questions tagged .