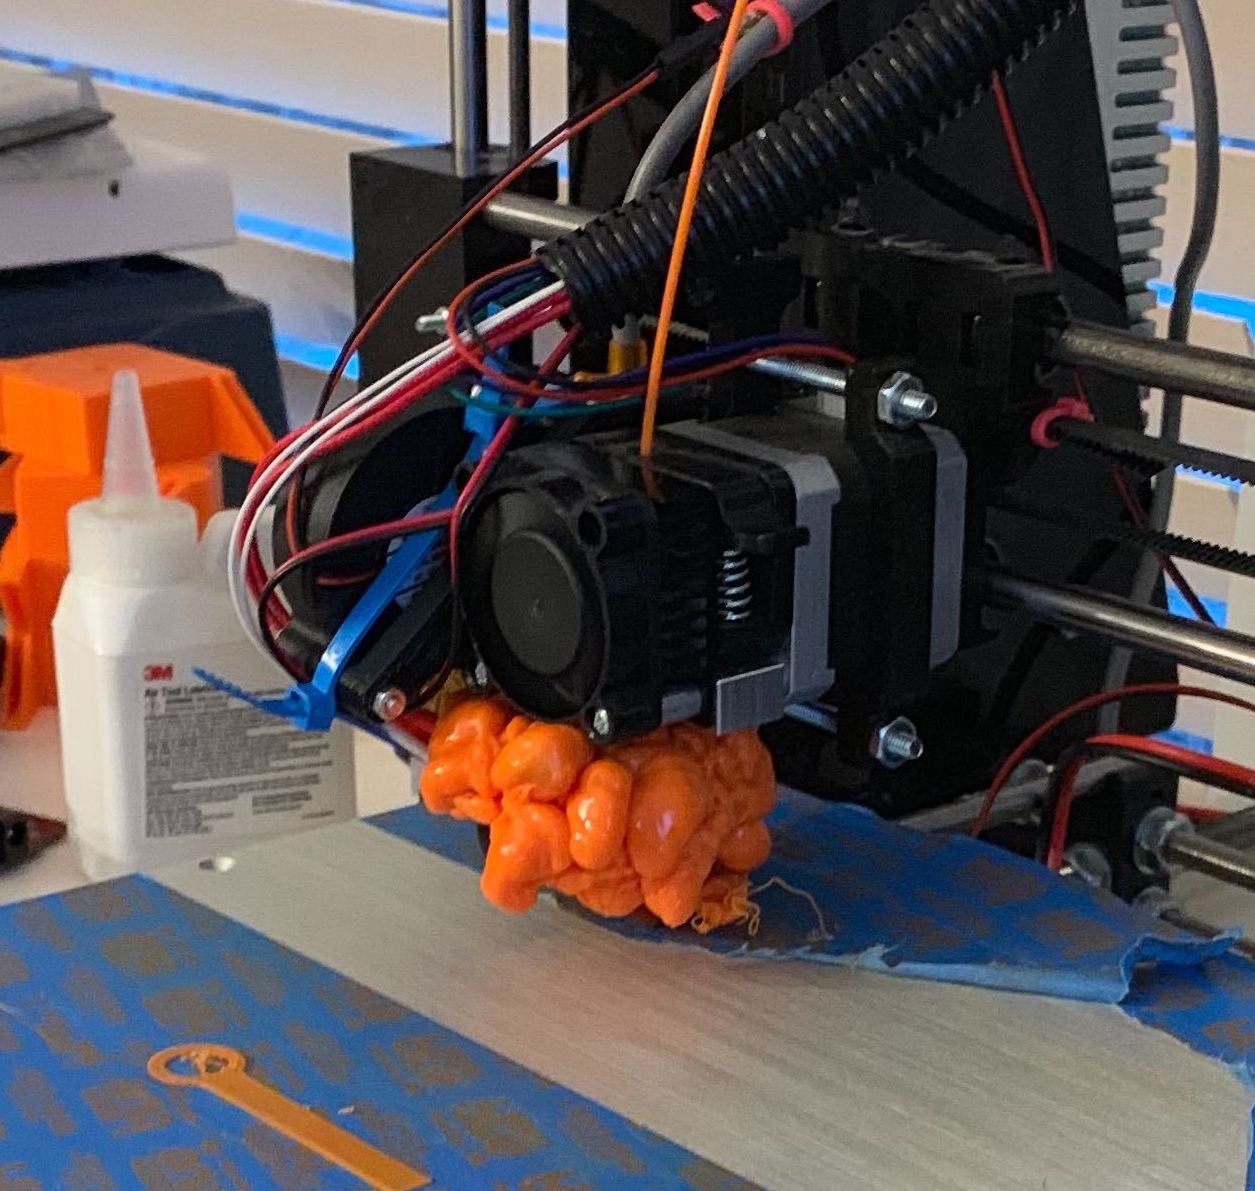
Yes
I had a somewhat similar clog once, and I could fix it back up. However, it is a lot of work.
Hobbyist Way
Step 1: heat
As long as the heater cartridge is still ok, just fire up the printer, move up the print head by 50 mm and wait some two or three minutes till the goop is warmed enough at the core to melt. Set the hot end to 200 °C and no cooling fan.
Step 2: rough clean
Check the cables for your hot end and thermistor as long as the plastic has not yet softened up around them and especially surrounding the thermistor: When the glob is removed in one swoop, you might tear the lines! It's better to use a sculpting tool or exacto-blade on the softening plastic and make an opening that allows the glob to be pulled away safely with minimal pull on the cabling.
When the blob has softened enough, you can just pull at the outer of the blob to pull it down. Use a tool like pliers and pull off the worst that still sticks to the hotend. Pulling the blob free can take a while, so be patient and careful.
If you have a soldering iron, you can use that as a heated scraper from the outside and skip on heating from the inside. If you have no temperature control (as if your thermosensor is shot) outside heat is the only safe way.
Step 3: Cool down
After having made a rough clean up from the outside, let it cool down so you can dismantle it.
Step 4: dismantle and clean the hotend.
This is actually rather simple, and I will point to a question where I outlined that for a broken thermistor cartridge. You have a working thermosensor at least, so less problems on that front.
Shortcut
If you have a hot air gun for hot air soldering, you can be much faster! Skip step 1 to 3, dismantle the hotend and go straight to Step 4, dismantling it and cleaning it out of the machine with the hot air soldering tool as a heat source. Heat and scrape away, and get out the thermosensor and thermosensor as soon as possible to prevent destroying them.
