##The lazy way: Skirt/Brim
The lazy way: Skirt/Brim
With my TronXY X1 I learned pretty fast, that this first bit of extrusion on an unheated bed can totally mess up the first layer by being just in the way, as explained in the question.
To some degree, this behavior can be avoided by adding a skirt of a certain length. An equally good alternative that also increases bed adhesion for tricky parts is the brim. Both are not set via G-code but can be added by the slicer. In Ultimaker Cura both are found in the tab Build Plate Adhesion as type, as the following pictures show:
Skirt: 2 lines, minimum length 250mm
###Skirt: 2 lines, minimum length 250mm
 ###Brim: minimum length 250mm, 8mm width
Brim: minimum length 250mm, 8mm width
The Prusa Priming-line
##The Prusa Priming-line AngusAngus/MakersMuse introduced me to the Prusa Priming Line in one of his tutorial videos. For his Wanhao he used (for the video) just this start G-code script:
G28
G1 Y-3 F500 ; Move out of print volume
G1 X60 E9 F500 ; start purge line
G1 X100 E12.5 F500 ; finish purge line
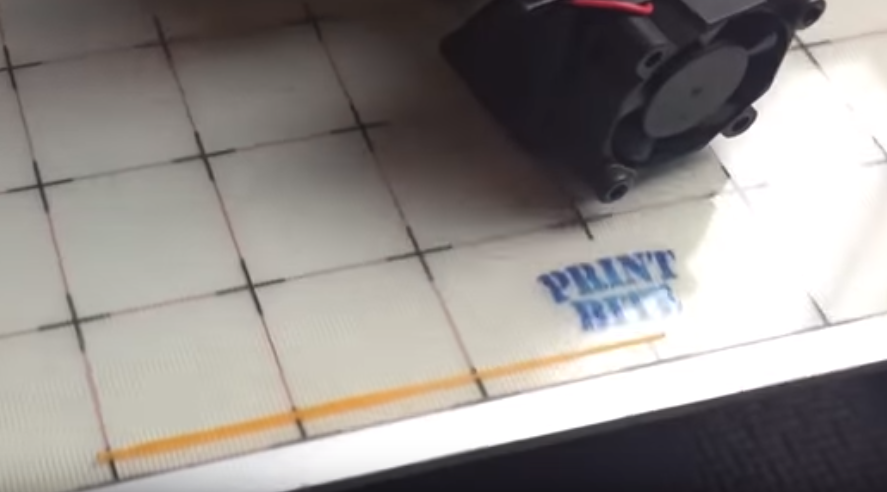
This resulted in a nice line like this:

In Ultimaker Cura, this piece of code is added via the preferences of a machine. In Cura 3, you usually had to add the starting G-code yourself. Since at least version 4.2.1, all preset machines contain some variant of a priming line, usually at the left side.
