Is there a good method or tool to level the bed of 3D printers? I find myself making small adjustments a lot and it's mostly just trial-and-error. A normal bubble level is of limited help and trying to figure out if the head is the thickness of a sheet of paper from the bed in all corners is beyond the capability of my vision.
-
3$\begingroup$ A bubble level is worse than useless for leveling the bed because you don't want the bed to be level with respect to gravity, you want it to be level with respect to the printer's axes. $\endgroup$– Tom van der ZandenCommented Feb 3, 2016 at 22:13
-
$\begingroup$ @Micael, which kind of printer do you have? Do you have auto-leveling? $\endgroup$– Tormod HaugeneCommented Feb 4, 2016 at 10:15
-
$\begingroup$ The answers provide good methods, I would add level the bad when it is at printing temperature. $\endgroup$– EGHMCommented Feb 4, 2016 at 21:06
5 Answers
There are several ways.
1) Simplest is the business card/paper method.
This video shows how simple it is: Leveling the platform
You should feel the same amount of resistance between the hotend and the bed on all sides. On some 3D printers there are 3 screws holding the bed (eg. Solidoodle) and on others there are 4 screws on each edge (e.g. Prusa i3). On some 3D printers you need to rotate a screw with a screwdriver to adjust it (e.g. Solidoodle 3) and on some you have a nut (mostly wing nut) (e.g. Solidoodle 4).
I find most people move the extruder around when adjusting the bed by controlling the motors. I think the quicker way is stopping the motors (in Repetier Host it's the "Stop Motor" button) and moving the gantry by hand.
Tutorial: 3D printing guides - Bed leveling
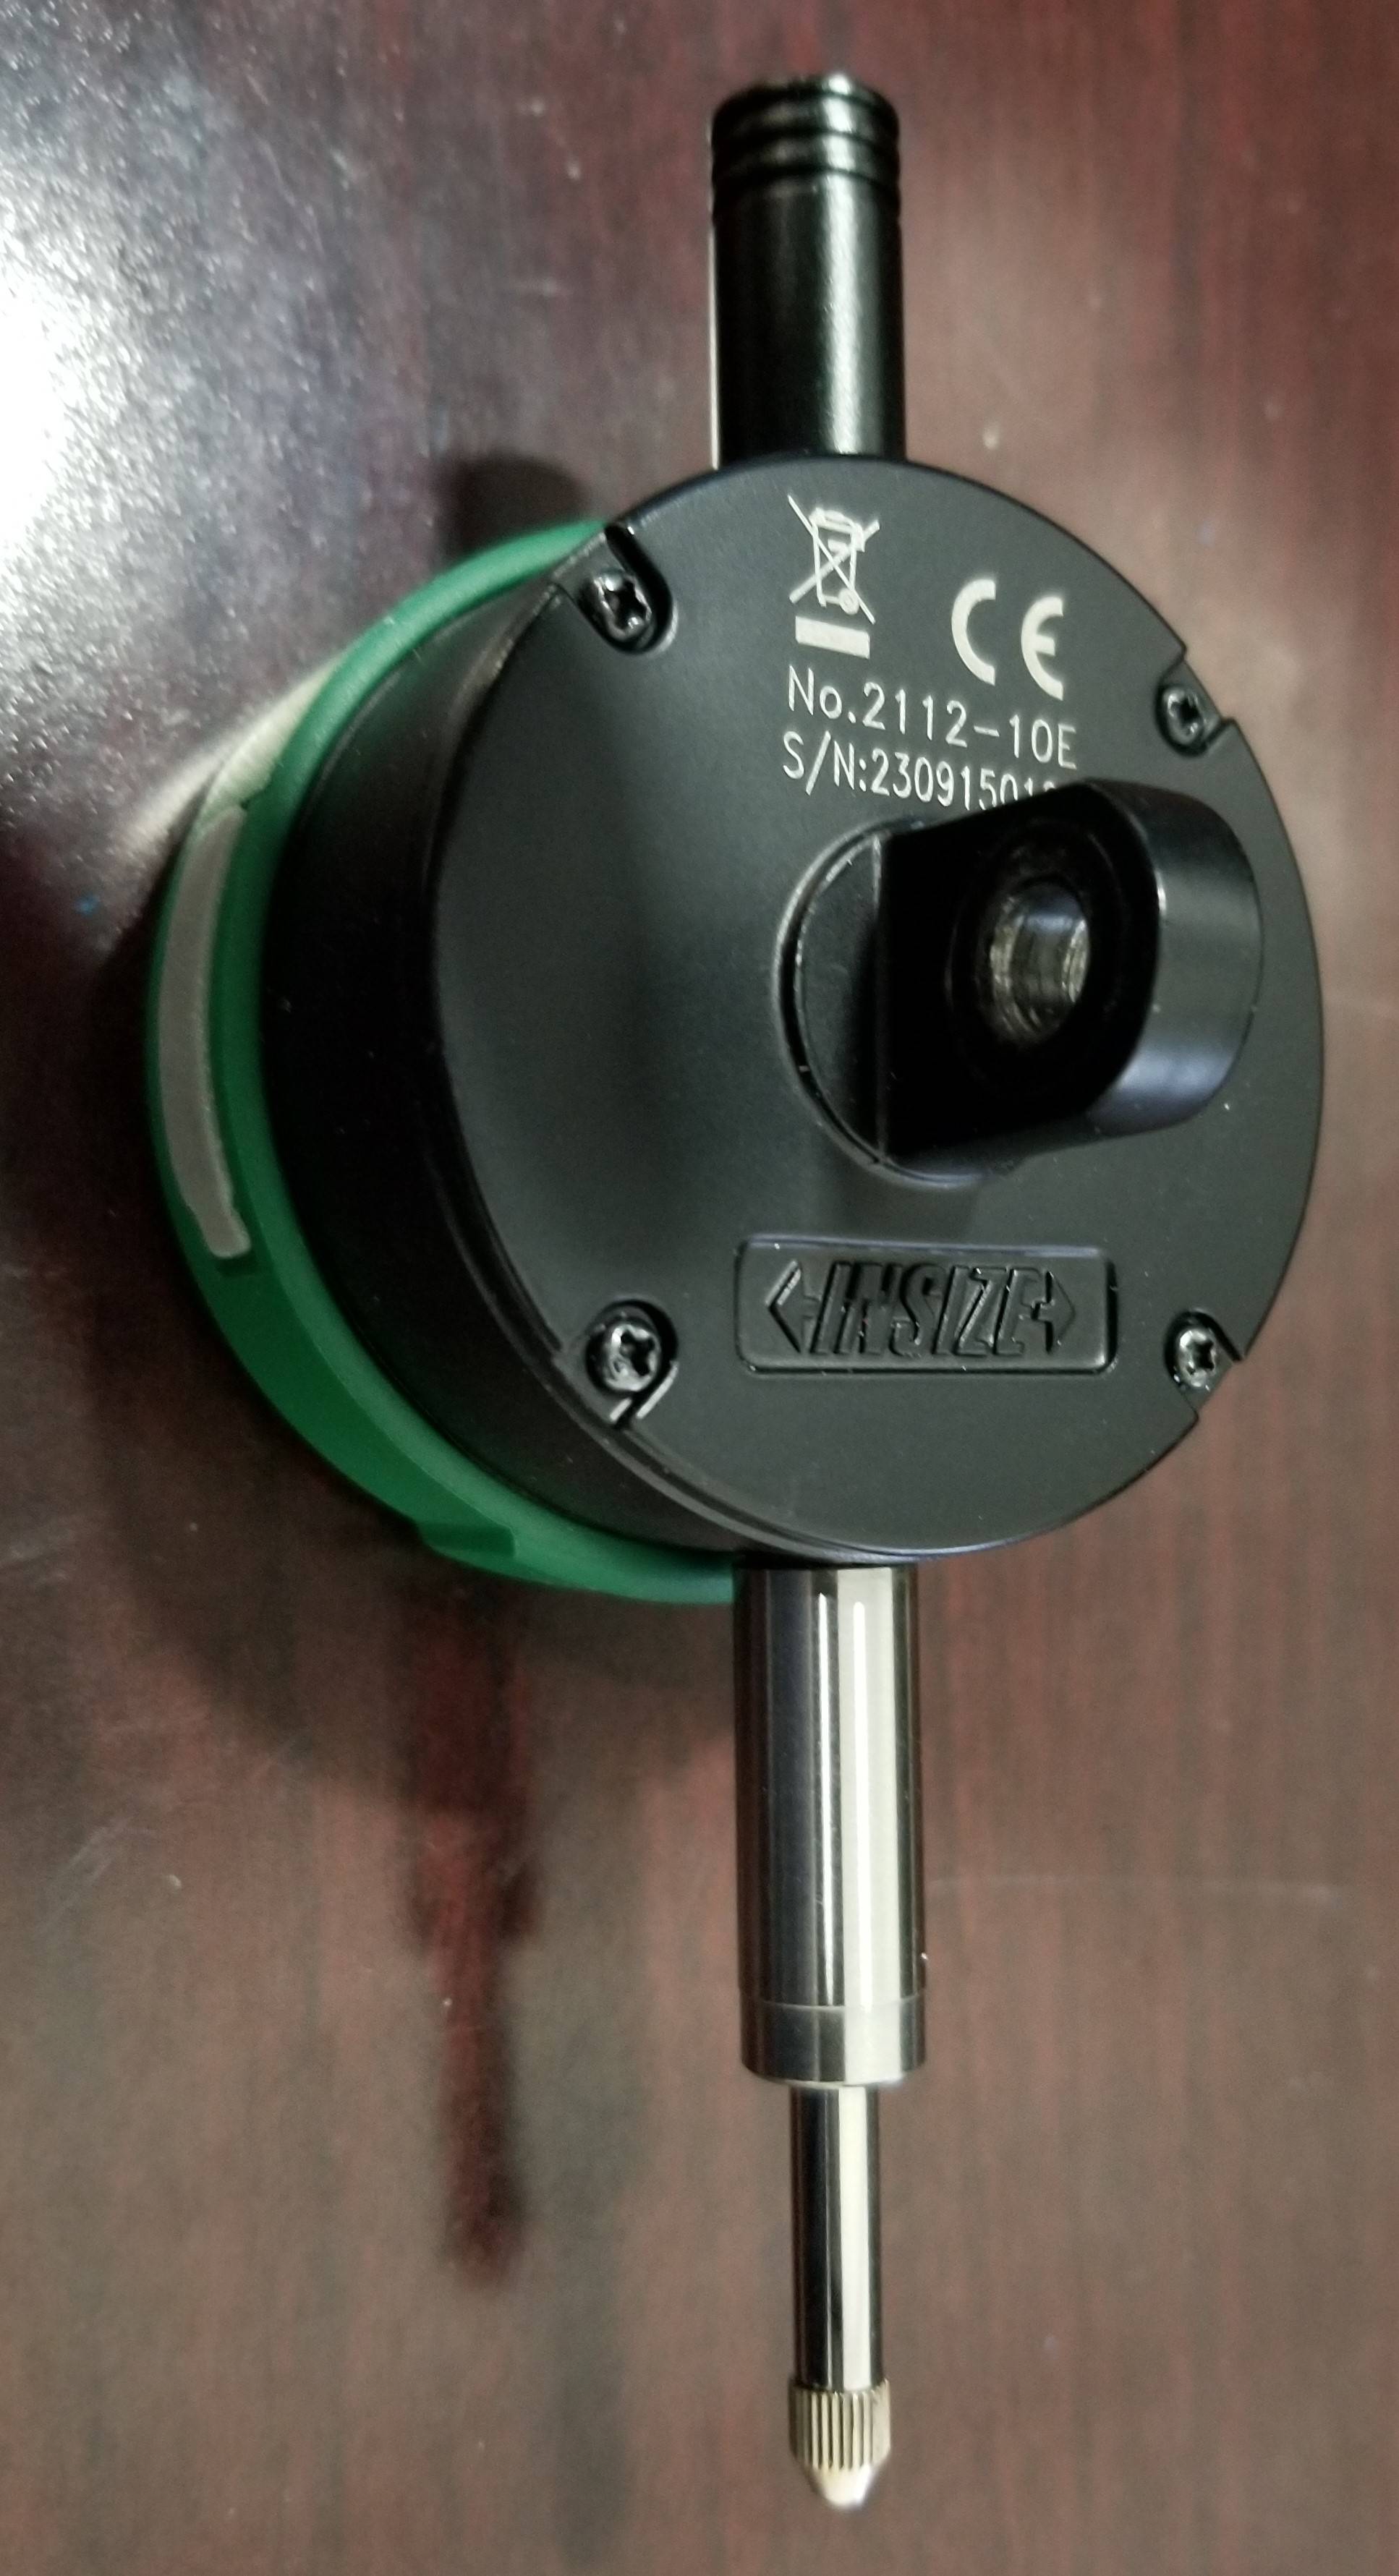
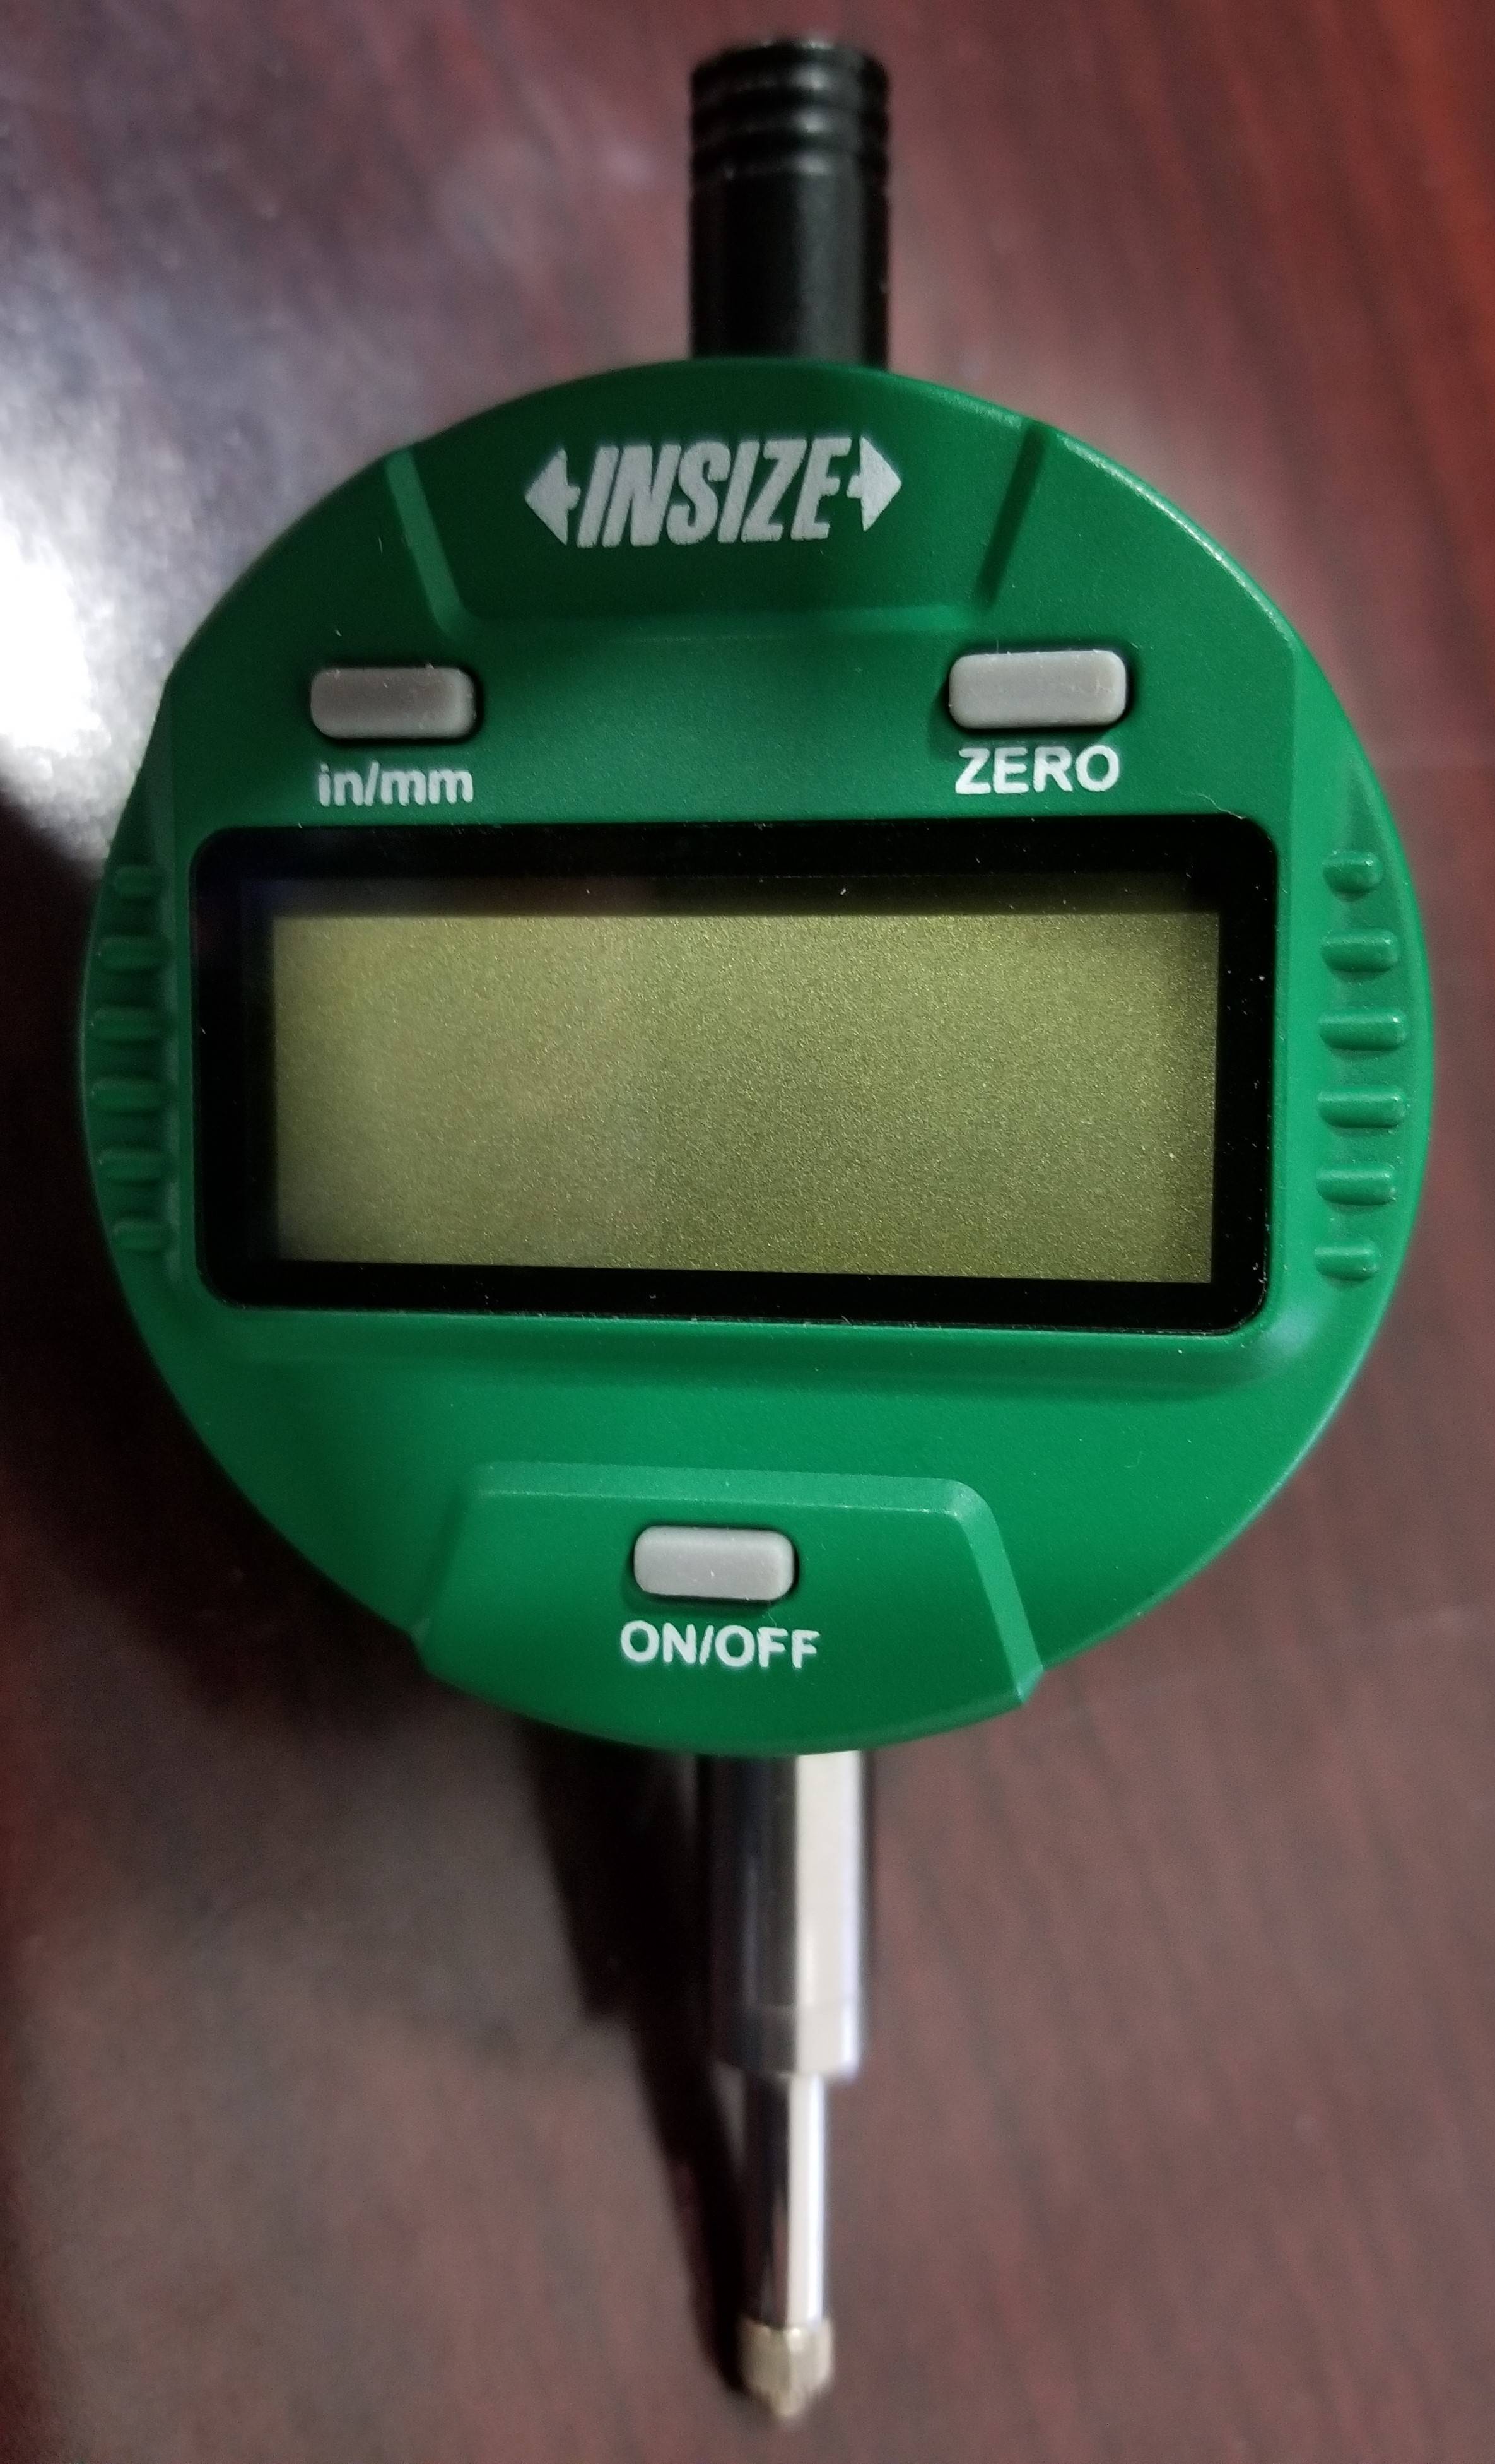
2) Second one is just more advanced version of the above. You use a dial indicator/ micrometer attached to your extruder and make sure the number on the dial is as close as possible on all edges.
Level the Print Bed on a RepRap / RepStrap 3D Printer with a Mitutoyo Dial Test Indicator
There are also digital versions of this tool.
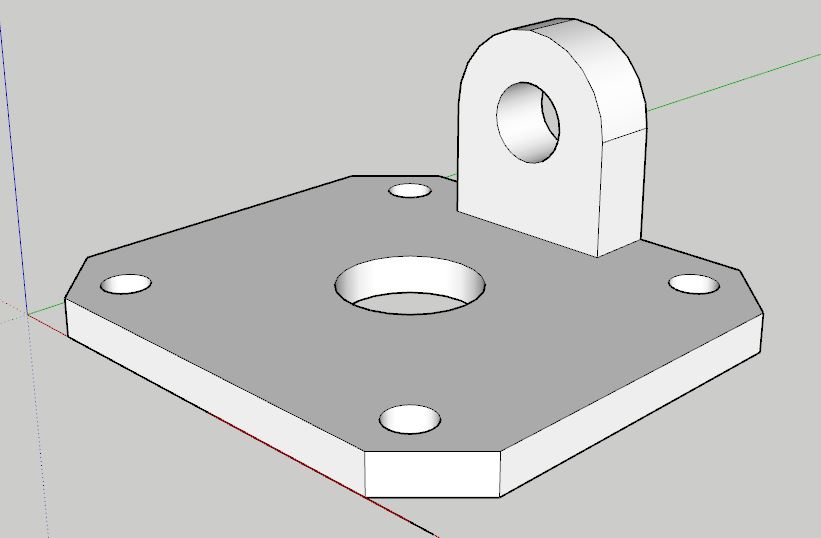
You might need to print or make some other way a piece to be able to attach a micrometer to the extruder (there might be one for your 3D printer on Thingiverse already).
Now, remember I mentioned that you adjust the height of the edges of the print bed with a screw/nut? Well, since there is a lot of vibration during print those tend to get out of place and that might explain why you end up readjusting it over and over again. What I have found to solve this is to use a single drop of Loctite (cyanocrylate glue) in the middle of the nut/screw. A single drop will secure it in place but also not make it impossible to unscrew in the future.
3) Setting up auto-bed leveling on your 3D printer if it's modable enough: 3D printing guides: Setting up auto bed tramming leveling tilt compensation!.
Finally, if you can't get the bed leveled no matter what, it might be uneven. That's usually caused by warping. Both PCB beds and aluminum beds can get warped. With the former just sandwich a glass bed on top of it and it should be fine. Warped aluminum is pretty hard to flatten. In this extreme situation you might need to get a new aluminum sheet cut and drilled, preferably a mm thicker one which is less likely to warp under the same conditions. I think this happens when you either set the bed temp too high and/or the thickness of the aluminum bed is too small (bad or cheap 3D printer design).
The easiest way I know of (unless your printer has a Z-probe and automatic leveling), is to bring the nozzle(s) down fairly close to the bed (maybe 1/4" or so), and then move it around while watching for anyplace that doesn't look even. Adjust the bed until it seems even. You can just eyeball it, or use a ruler or object to measure.
Then bring the nozzle down closer, and repeat. Each time you move it closer, you'll be able to eyeball more accurately.
Once you're quite close, pull out a 3x5 card, or business card, or similar, and move the nozzle up or down until the card just fits between the nozzle and the bed (with no great pressure, but no space either). Again, move the head all around the bed, and do any remaining (tiny) adjustments so it's the same everywhere.
Of course if the bed is at all warped this will be much harder, or even impossible. So before starting, put a good-quality straightedge along it to make sure it's actually flat.
-
$\begingroup$ See also @OlafM's point about doing this with the system hot. That way if anything changes with temperature, you'll eliminate that variable. $\endgroup$– TextGeekCommented Aug 8, 2016 at 14:32
After the first leveling, I usually don't need to touch it for long time, even if my bed structure is of wood and could warp in time.
I guess you need to adjust it because you turn on the heating and in the meanwhile do the leveling. Do it when the bed is hot and stable for 5 minutes and you'll see it will stay correct between prints.
Keep in mind that, in my case, the temperature changes the position of the extruder as well: do the leveling when everything is hot, even if without filament inserted.
Edit: if you print both ABS and PLA, a single leveling done at an intermediate temperature will be enough.
Also, be sure that the screws don't move due to vibrations. I used a foam washer to keep them in position. It warps during the first hours of application and then provides good friction.
If you don't have an auto-leveling build plate or a depth gauge attachment for your X-Axis, you're pretty much stuck with the "piece of paper" method. To perform this easier, try shifting the paper as you adjust the bed. As soon as the paper becomes difficult to move (the nozzle is touching now), back off the build plate by about a quarter turn.
Please also keep in mind how your printer is constructed. If your build plate arms are plastic, they are easily susceptible to warping if you have a heated build plate. Even if the warping isn't permanent, the build plate can technically shift during a print as the arms get hotter. Some people go as far as replacing these arms with aluminum versions.
-
$\begingroup$ I use a mechanical one in a snap-on holder myself. $\endgroup$– TrishCommented Sep 30, 2020 at 21:19


