20
$\begingroup$

When you cut or break a PLA model (for example to remove support) it often leaves an ugly while mark where the removed piece was connected.

Sanding also tend to leave dull white scratches on the sanded surface.

What can I do to restore the white areas to the original filament color?

$\endgroup$

6 Answers 6

9
$\begingroup$

As suggested by Ryan Carlyle you will need to use heat to reflow the plastic. However I recommend against using a heat gun as generally you want a very concentrated small area to be heated.

I have had great success in using a soldering iron with the tip placed close to (but obviously not touching) the problem area. Keeping within about 3-5mm has very good results, is easier to control and position. This limits the impact to the surrounding areas and can let you get into small crevices etc.

Just be careful not to touch the part.

$\endgroup$
14
$\begingroup$

A quick blast from a heat gun will very slightly reflow the surface texture and eliminate white marks.

However, it's important to avoid over-heating the perimeter layers or you'll see them soften and sag into the infill. So wait for the heat gun to get fully hot and then use a short duration of high heat. Let the part cool between attempts if you don't get it all the first time, or need to clean up a large area.

Incidentally, the heat gun will also help clean up strings from travel moves.

$\endgroup$
1
  • 1
    $\begingroup$ +1 for the good answer. Please note that the area needs to reach the minimum melting point to effectively clear the affects of a failure mode. $\endgroup$
    – tbm0115
    Commented Feb 25, 2016 at 2:02
4
$\begingroup$

I have had success in 2 ways. After sanding, a little polishing with oil (vegetable oil is fine) will help to bring the colour back. If the oil gets cleaned off however you get back to the whitening again.

I'm also a a big fan of the reheating. It works on ABS too. I haven't used a heat gun though, only an open flame. I have had success with a lighter, and with a cook's blowtorch, this way you can be very localised in where you heat, but you need to be VERY brief. With a lighter just flicker the flame over the area concerned; with a blowtorch, start from far away and move the flame in and out of target until you see the whitening start to go.

A little practice on a part that is not too important would be prudent, and please be careful. I take no responsibility for you burning yourself :).

$\endgroup$
2
  • $\begingroup$ I've also had success with oil. I simply apply a drop of the 3-in-one oil I also use for lubricating printer components. Not sure why it works, but it does (I initially tried it on a hunch). If someone understands the principle behind it, they can perhaps come up with a more effective solution. $\endgroup$
    – mhelvens
    Commented Jan 13, 2017 at 20:04
  • $\begingroup$ +1 for lighter. Just an additional remark, get the lighter very close to the surface. You want to heat surface very fast so that it will smooth/recover color before the heat is dissipated to underlying layers and cause softening of the part. $\endgroup$ Commented Oct 6, 2017 at 19:25
3
$\begingroup$

For PLA, white marks disappear at just over 60°C. A warm water bath works great, as does holding it over boiling water (use tongs!)

My favorite technique is to hold the part with tongs and wave it in front of the steam from a boiling tea kettle. It takes no more than a second, so you can do this on a dozen parts in rapid succession.

If you do this quickly, the plastic won't even soften noticeably; the white marks should disappear instantly.

If you don't want to get it wet, a heat lamp should also suffice. Holding it over a toaster for a second should work too. PLA gets soft at such a low temperature there's no need to use a heat gun, open flame, or soldering iron.

$\endgroup$
0
1
$\begingroup$

I've had amazing results just rubbing in a very small amount of vaseline. It makes the white marking virtually disappear.

I found this trick after printing a recorder for my son. I sanded the connecting tubes to help them fit better, and used vaseline there also for fit, but mainly to help seal the connections to prevent air loss. I was amazed to see the white marks disappear completely.

I don't have before pictures of the recorder to demo the effect, so here it is again using our old friend Benchy.

First, the original print, where you can just see some less-than-perfect results on the overhang at the base of the bow (sorry, my cell phone camera isn't that great)
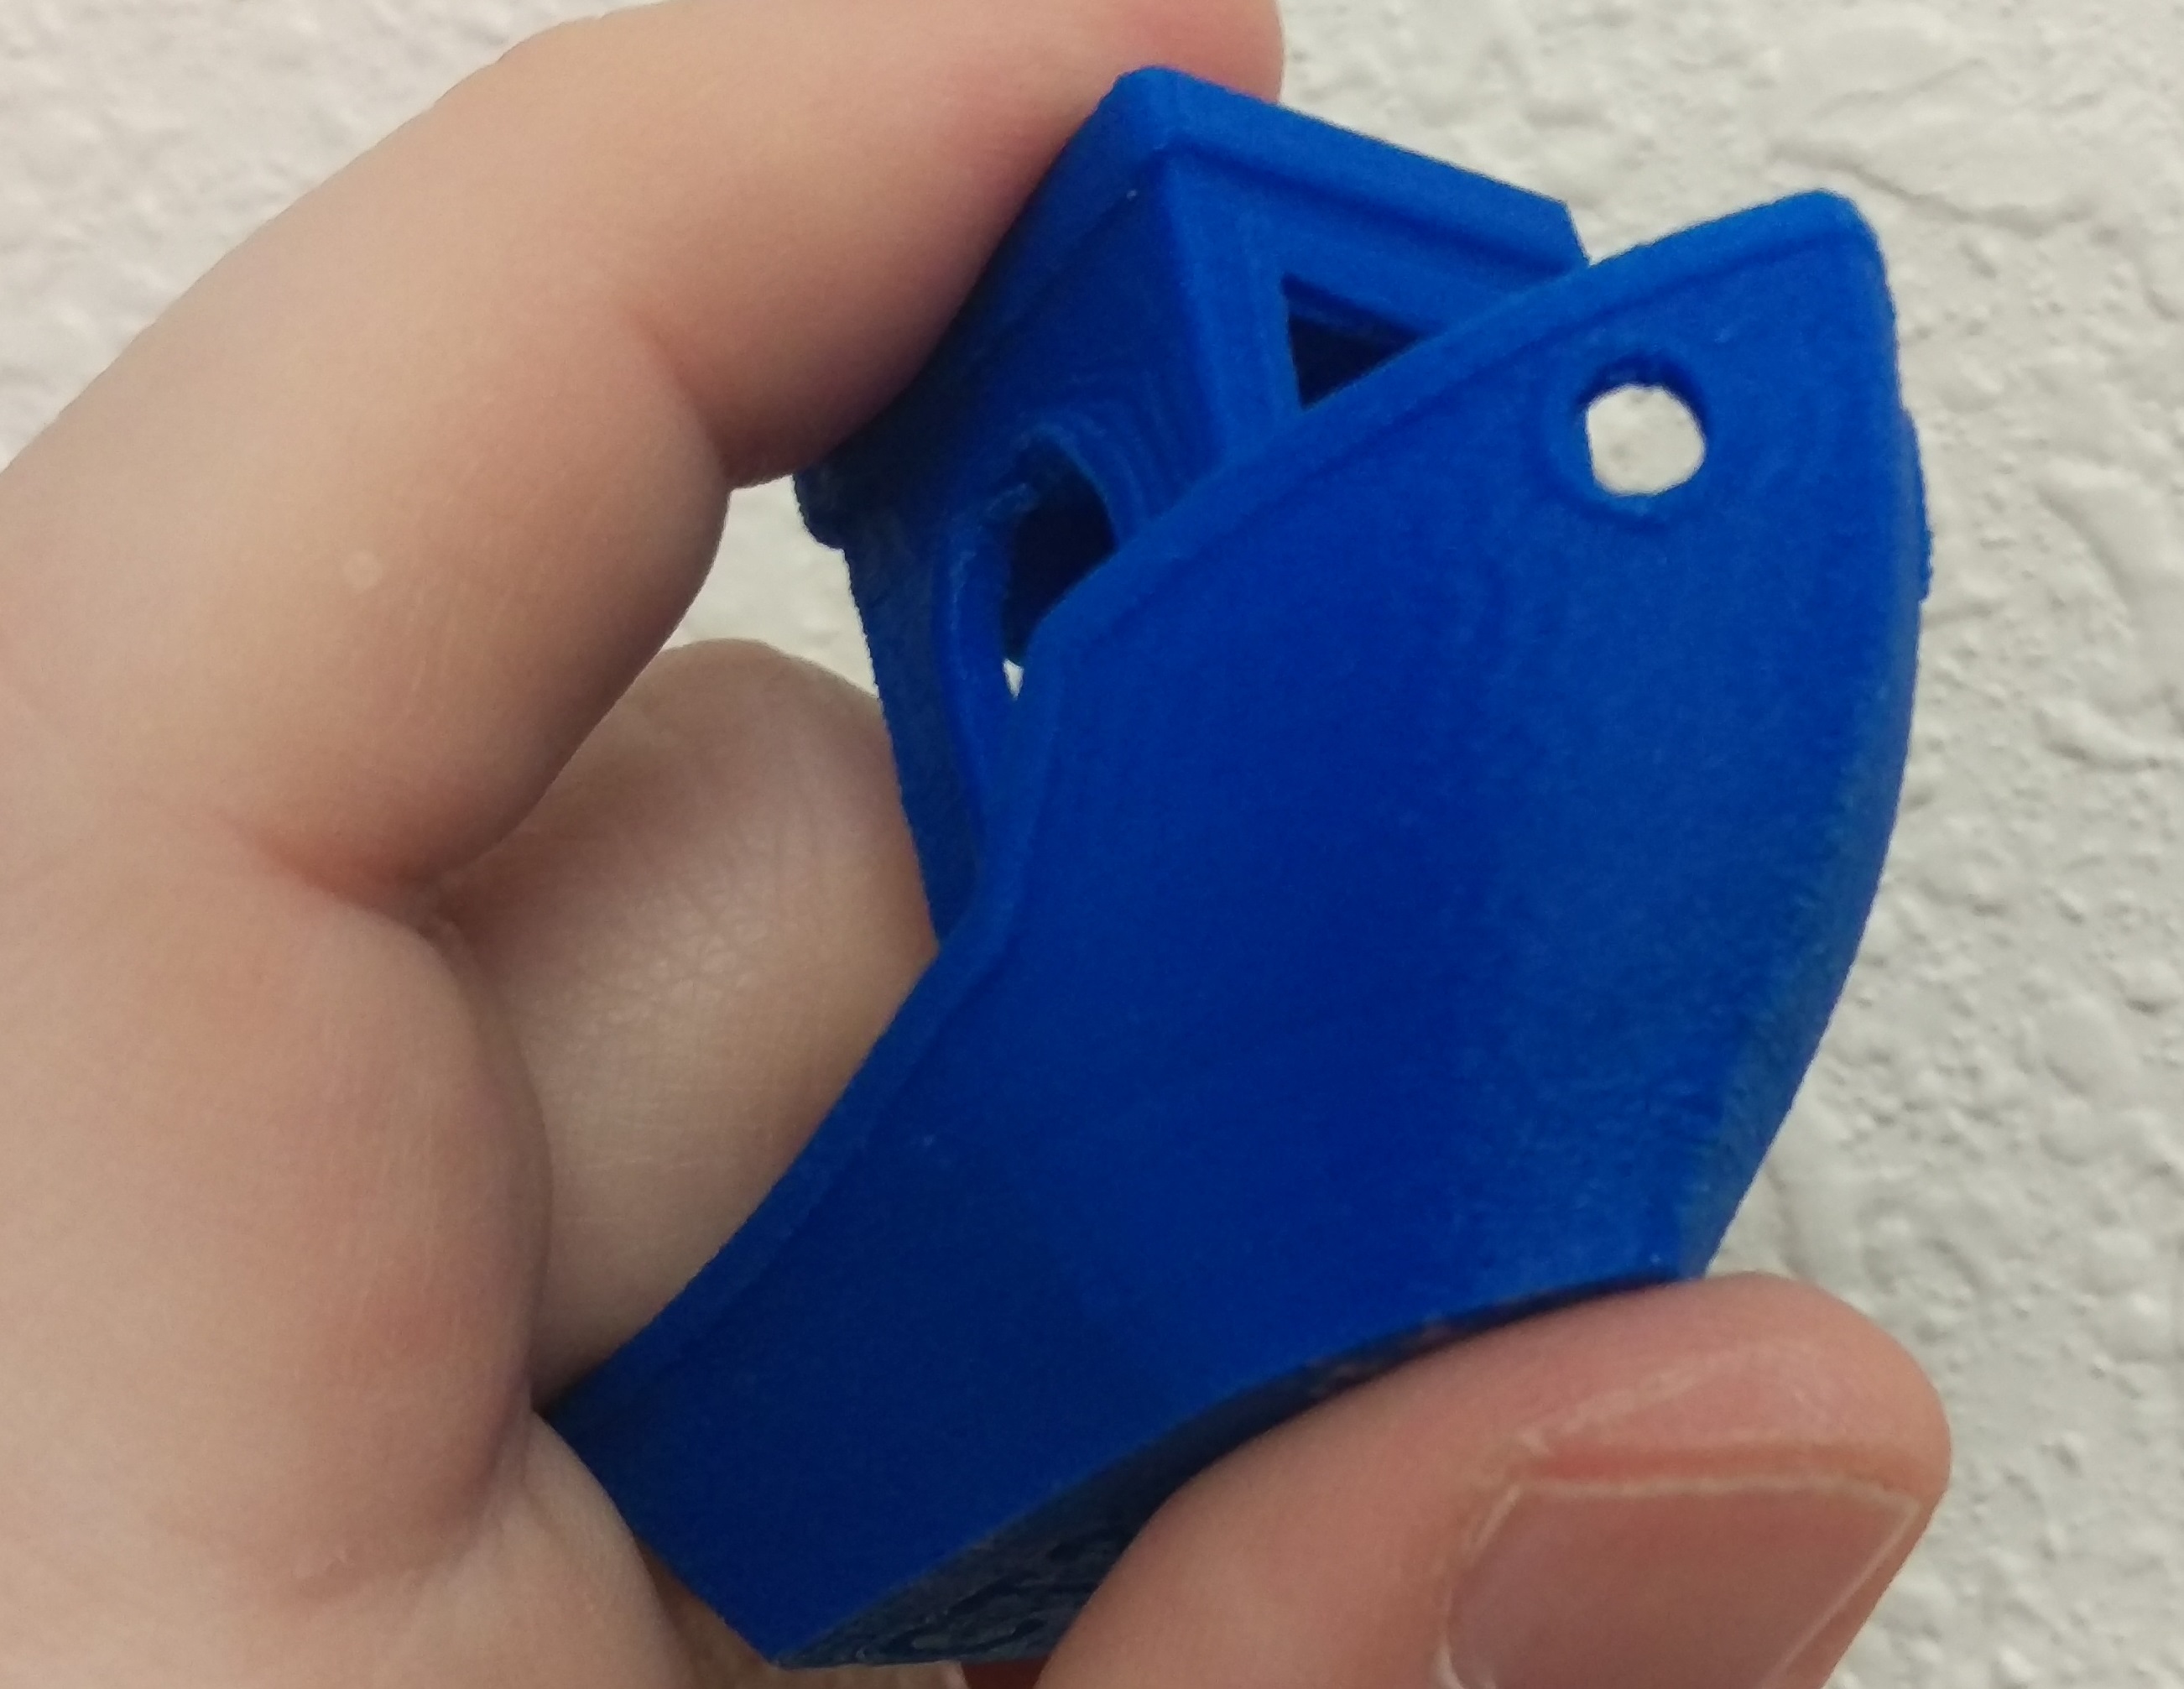
Blue Benchy before, with marring on the overhang under the bow

Next we have the same part, after some sanding to smooth the section:
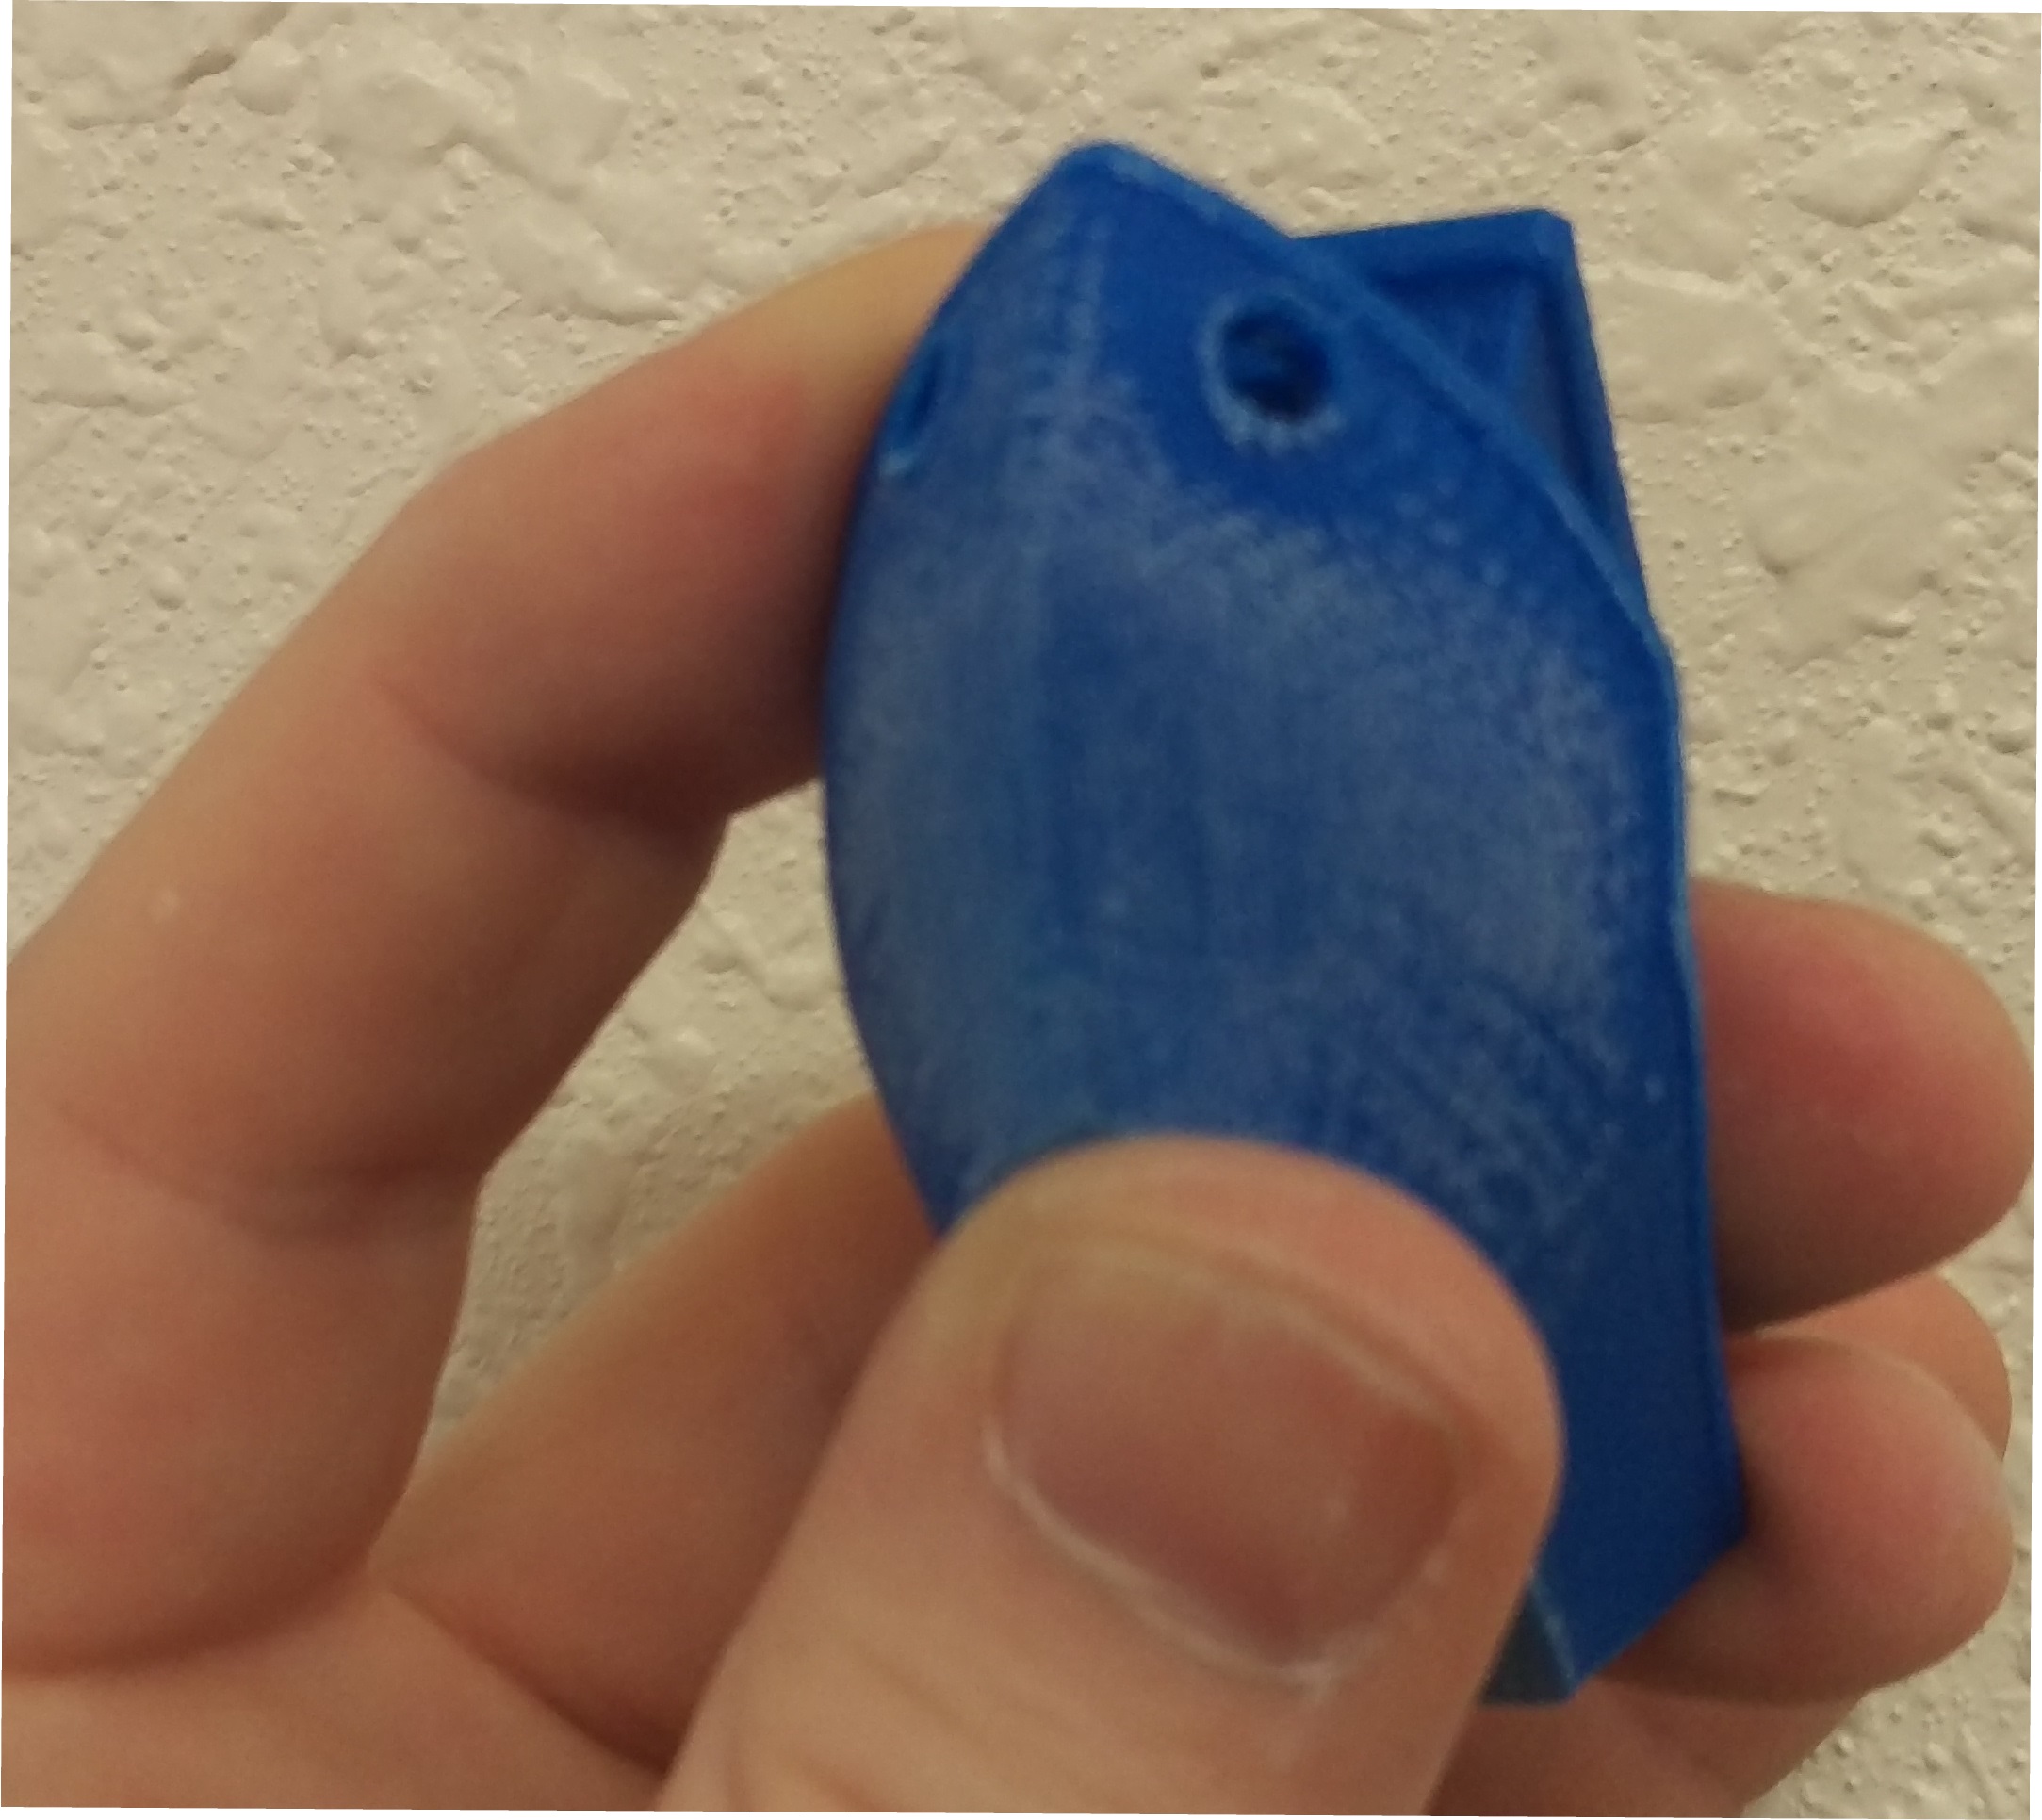
Same blue Benchy, with lots of white from sanding

Note I have already wiped away as much white powder as I could. If this was something I cared about, I'd sand it more evenly across the entire hull, rather than just this section.

Finally, the same part again, after I've rubbed in some vaseline. In this case, what I actually had to hand was a small container of Carmex, but it worked just as well.
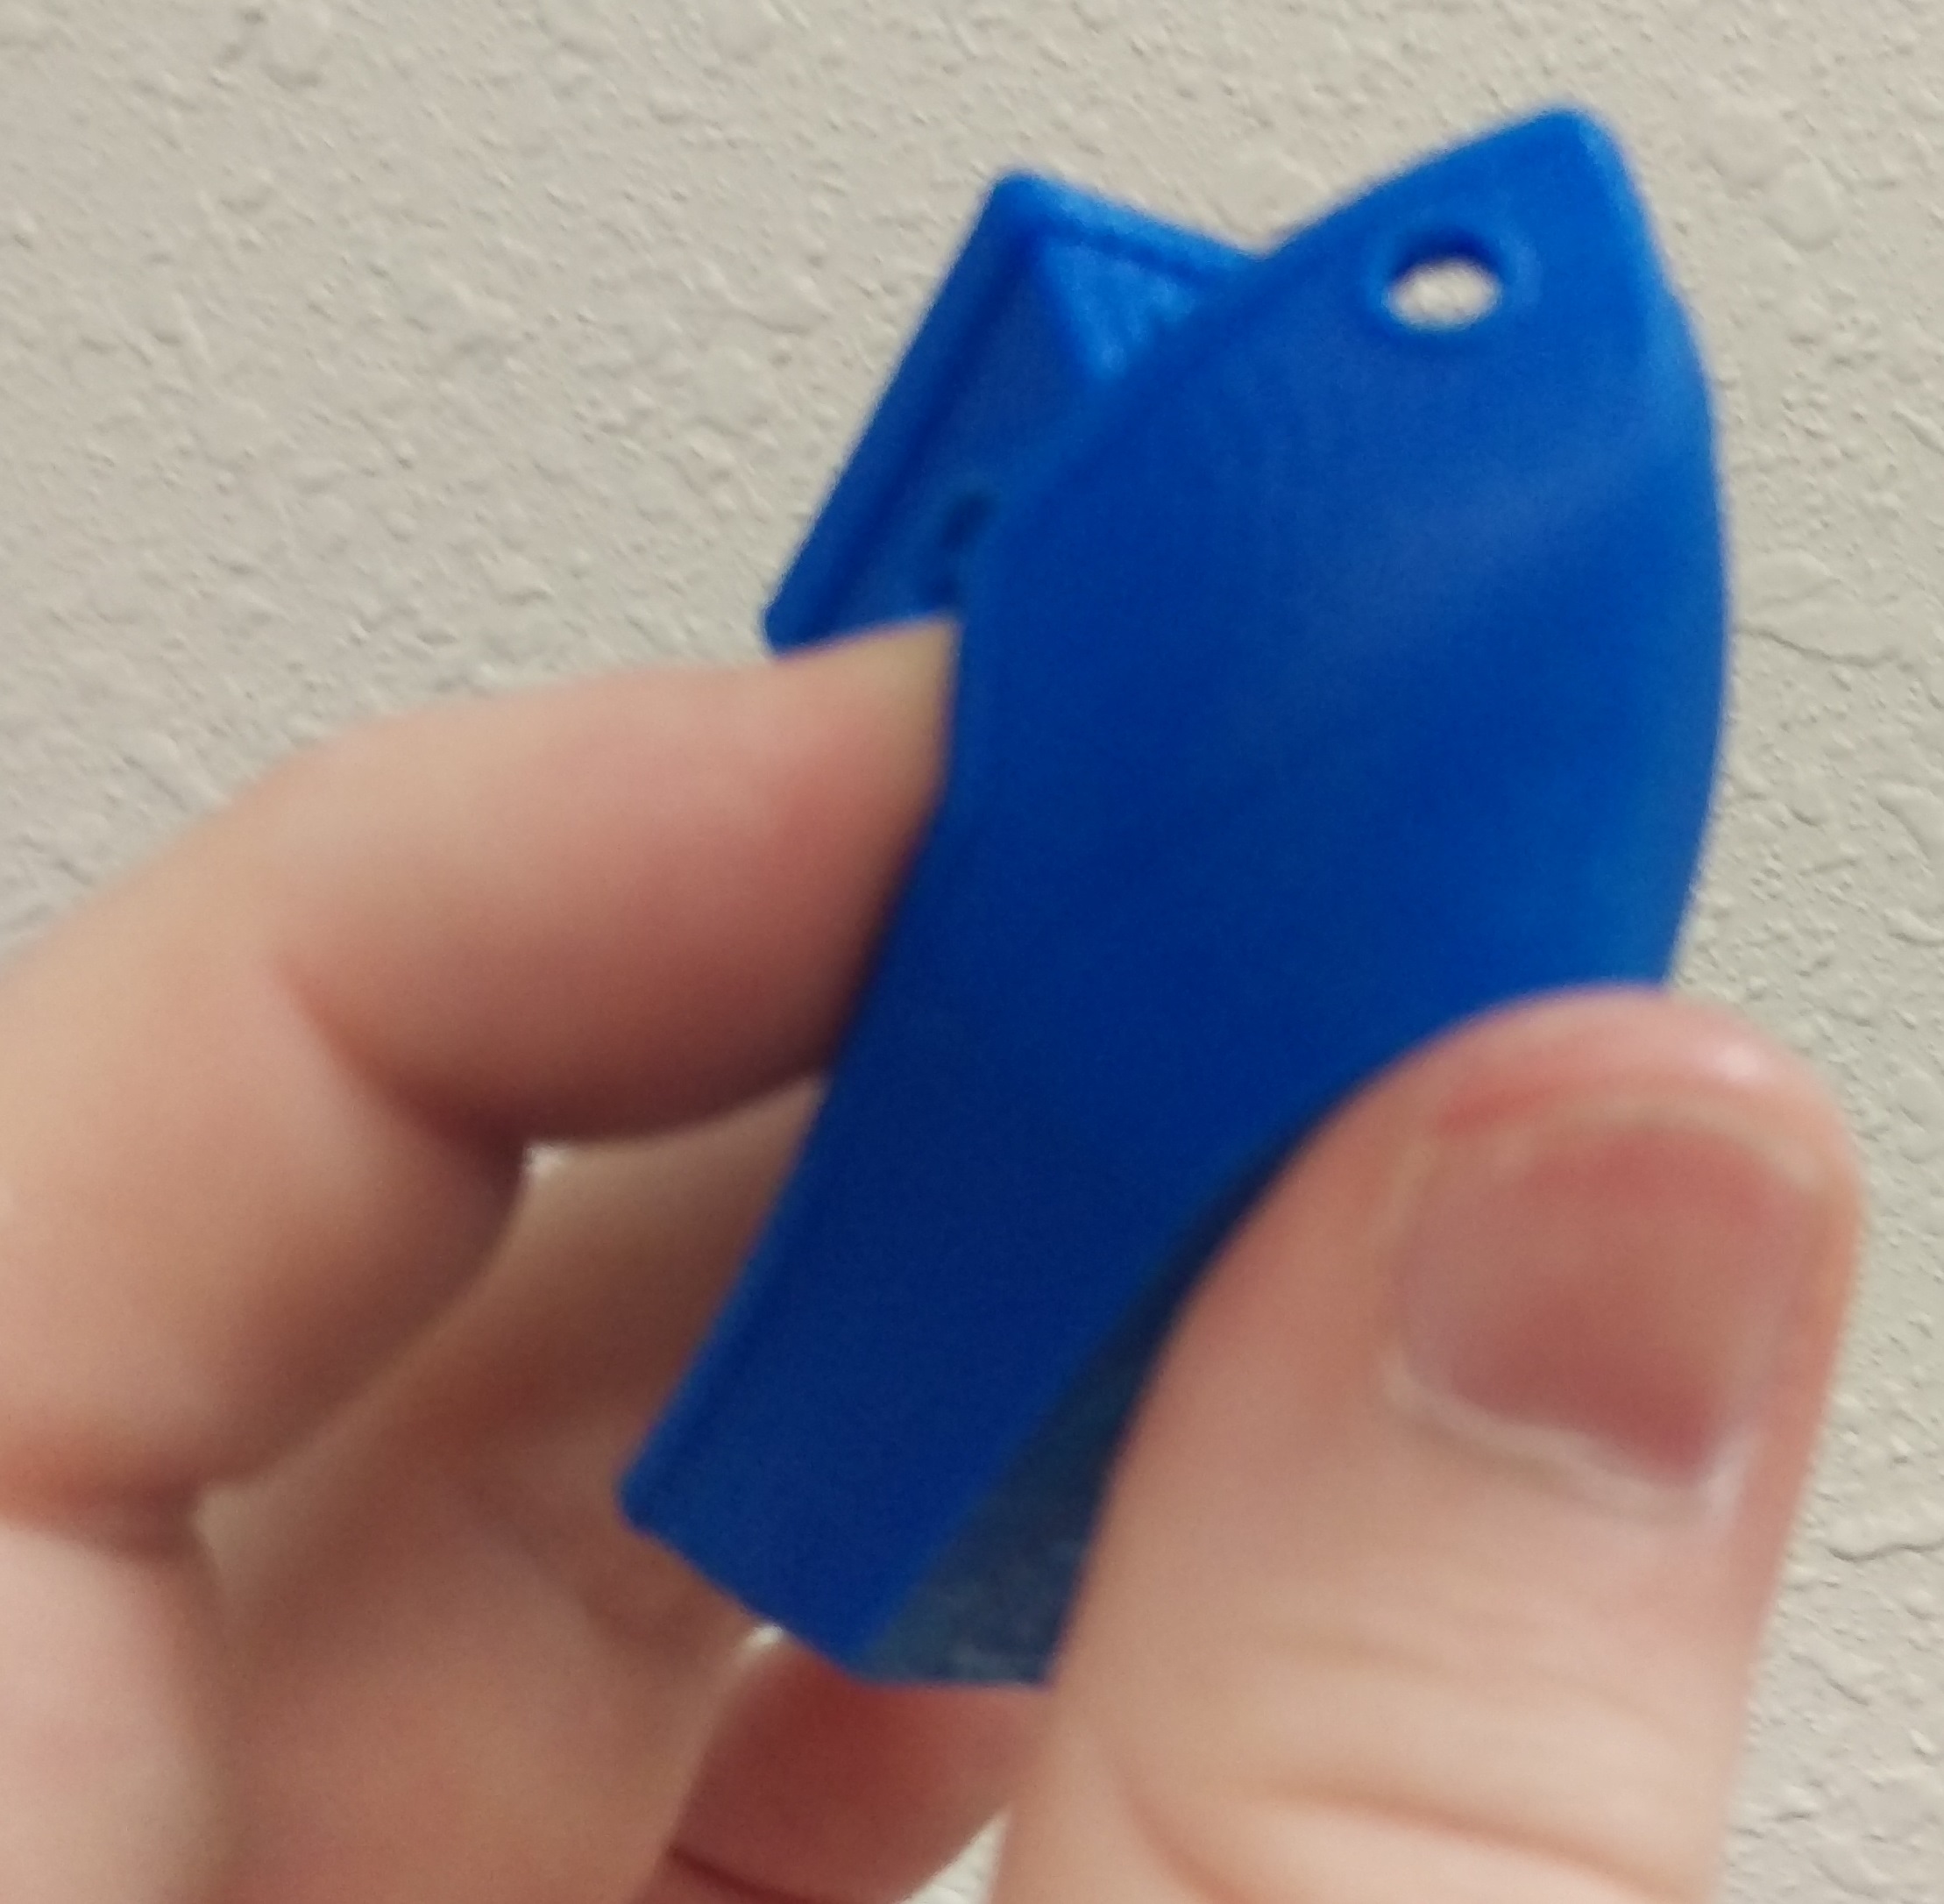
Final blue benchy, with no more visible white marks

Again, my camera sucks... but you can see the important stuff: there's no white marks. It only takes a very small amount of vaseline to clean a fairly large area.

$\endgroup$
0
$\begingroup$

Note that on lighter colours these light scratches can be hard to see. On white PLA they're almost invisible unless you hold it against the light at an angle and look at the specular reflection.

I've had some luck on a flat surface (the face of a game tile I printed) by going through various grades of sand paper. 240, 600, 1000, 2000. Finally, finishing with a regular metal polisher like Brasso brings up a shine that doesn't seem to wash off, unlike vaseline/vegetable oil.

It's quite a lot of work though, and even more work on curved surfaces. If heat treatment works for you, it may be preferable.

$\endgroup$

You must log in to answer this question.

Not the answer you're looking for? Browse other questions tagged .