2
$\begingroup$

I had to pause an ongoing print (because of complicated reasons) and that caused the printer to reboot (I don't know why).

When it rebooted, the Z extents were screwed up. I know this because when I gave the print again, the nozzle hit the print bed and started grinding.

The printer has an auto bed levelling function that runs before every print.

It takes three points on the bed where the sensor needle comes down to contact in a vertical to-and-fro motion. When that runs now, the head starts its vertical to-and-fro motion from a point considerably higher than where it used to start from earlier. The sensor needle does come down to touch the bed but it takes a longer time per point since the distance travelled is more now. (Hope this is clear)

To print again, I compensated for the Z-direction by giving a global offset (2.65 mm) while generating G-code. But I realised later that X and Y dimensions were incorrect (larger by 4.6% to be precise). I tested this by printing cubes of 10, 20, 30 and 100 mm. The Z dimensions are perfect though.

Also, there have been weird "lags" while printing larger objects. The print head stutters and this is causing sharp vertexes in between curves and some little blotching of material.

The printer runs on Repetier 0.92.6 and I've been reading about it but its honestly intimidating to me. Please let me know how to figure out what to change and by how much.

Edit: I agree this is quite similar to scaling issues thread here: Scaling/size issues in delta printers

I just want to know what could've caused this problem, whether there are any other possible solutions, and how to get started with Repetier framework.

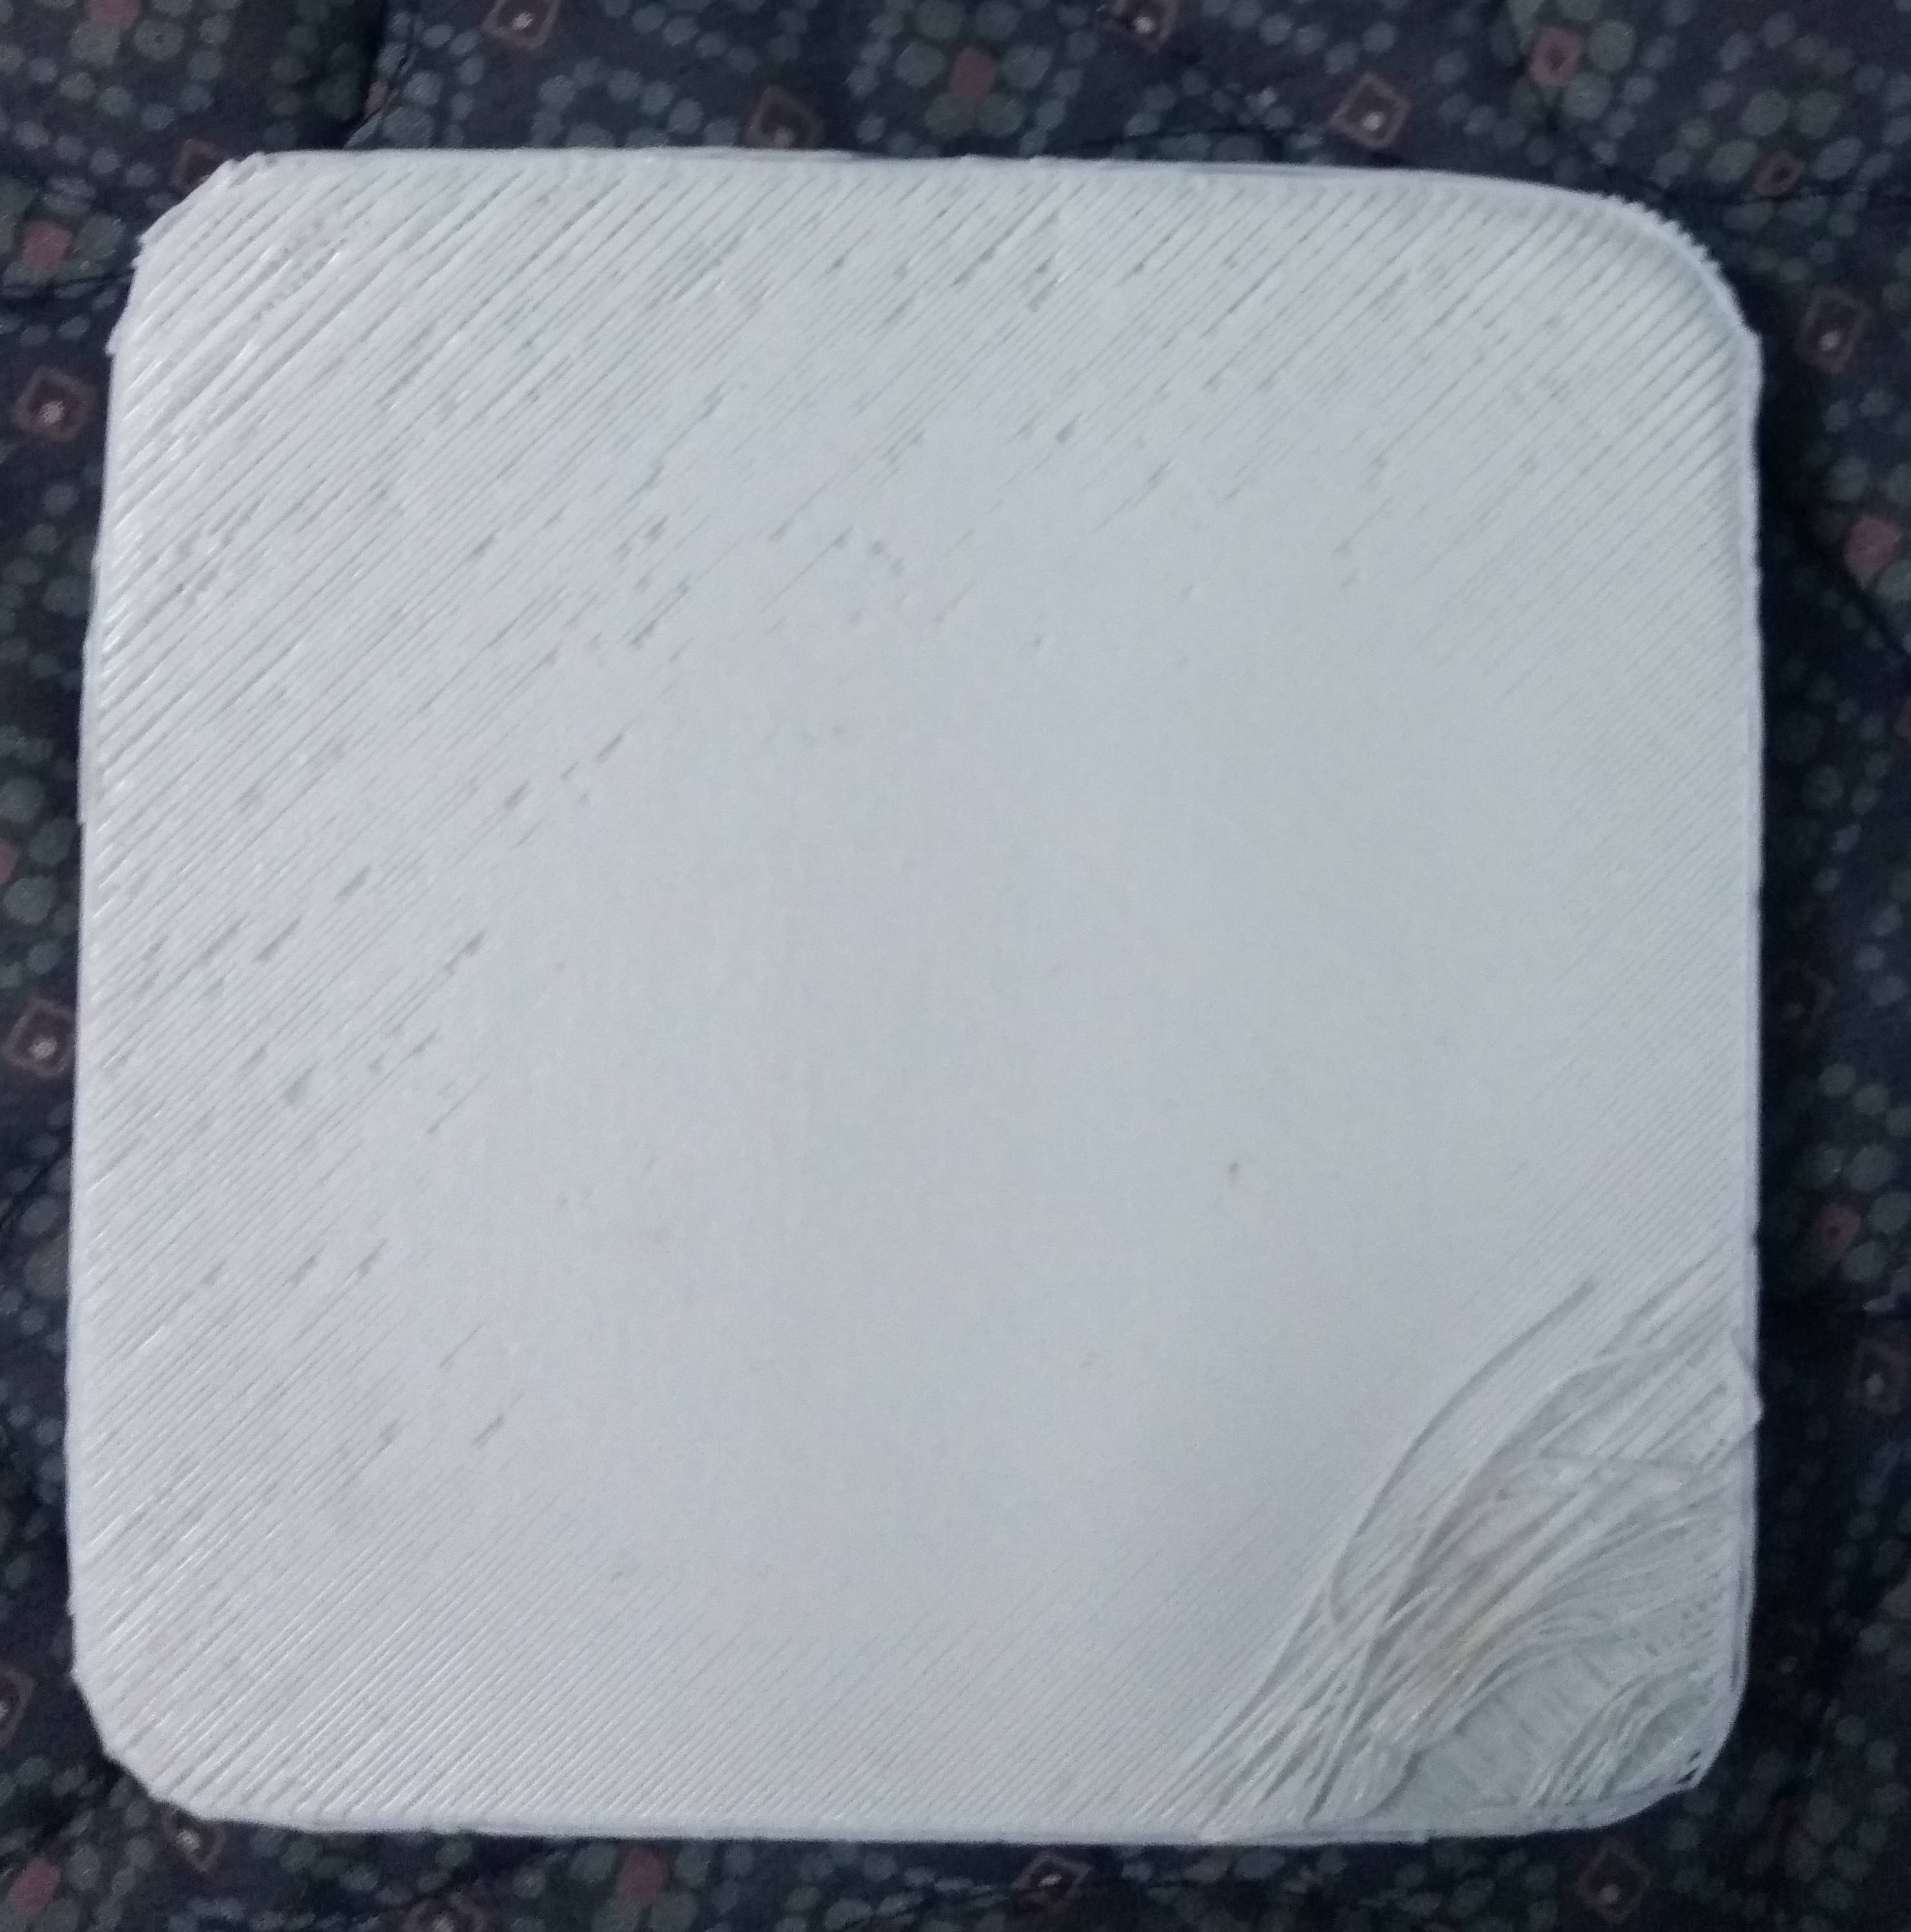
Edit2: Attached image is the bottom surface of the 100 mm cube. You might notice slight charring on the bottom right corner. The masking sheet I pasted on the print bed was charred underneath. Also, it's evident that the bottom surface is not as compact at the corners as it is in the center.

100mm cube bottom surface

What could be the possible reasons for that?
$\endgroup$
7
  • $\begingroup$ Possible duplicate of Scaling/size issues in delta printers $\endgroup$
    – Ecnerwal
    Commented May 28, 2017 at 14:09
  • $\begingroup$ @Ecnerwal agreed. I just want to know what could've caused it, what are the possible solutions, and what all in repetier would matter in this case $\endgroup$ Commented May 28, 2017 at 14:19
  • $\begingroup$ Ah - so you're saying the printer changed from correct size to incorrect size after the reboot? Sounds like it loaded some incorrect values from somewhere (EEPROM, presumably) upon reboot. $\endgroup$
    – Ecnerwal
    Commented May 28, 2017 at 14:23
  • $\begingroup$ Oh okay. So I guess tweaking the firmware is the solution. Referring to your similar question from a month ago, diagonal rod value is all I need to change, right? And what should I do for the incorrect Z height? $\endgroup$ Commented May 28, 2017 at 15:00
  • $\begingroup$ I would guess at an incorrect radius value based on the print, assuming it was positioned at the center. That was an interesting trip for me, starting with the set value being ignored .vs. awrong value in the EEPROM on my printer. Radius errors make what should be the "flat plane" in Z warped either up or down - they also affect the overall Z height, which speaks to your other problem. I went through some tedious homing and checking to get mine correct and the correct value stored in EEPROM (as well as written down elsewhere, just in case.) $\endgroup$
    – Ecnerwal
    Commented May 28, 2017 at 21:38

1 Answer 1

1
$\begingroup$

As detailed at minow.blogspot.com (which I found very helpful for the most part - it was the first link in the answer to my related question) you need to check/adjust the zero in front of each tower, check the zero in the center, tweak the radius, and repeat (checking the zeros at the edge of the bed in front of each tower again) until it's correct.

After that you adjust the rod length to correct XY size (and recheck all 4 zeros, thus the radius - it makes for a less than exciting day, but is worth it in the long run.)

You either need to turn off EEPROM until you have the right settings, or save the setting to EEPROM each time - depends how worried you are about using up EEPROM write cycles, I guess.

You should also turn off auto-bed-levelling while getting the basic calibration correct, per the same blog instructions.

My fun with figuring out what my EEPROM was doing behind my back is here: Delta printer not responding to changes in DELTA_RADIUS

$\endgroup$

You must log in to answer this question.

Not the answer you're looking for? Browse other questions tagged .