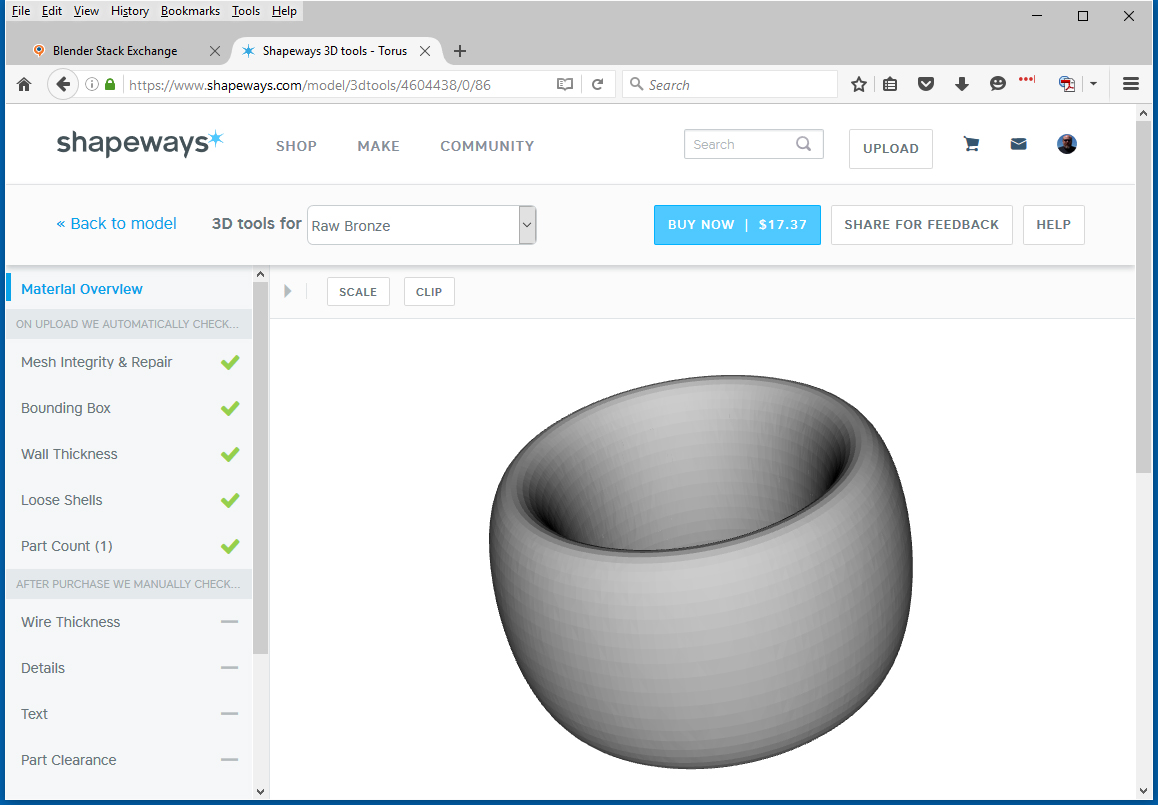
I made a torus that was 1 on the x and y axes, and 3 on the z axis in Blender. It is supposed to be a bead for a beaded necklace. It was exported to Cura as an .stl, then printed on a Lulzbot Mini. It worked fine in plastic, but when we tried it with bronze filament the nozzle clogged and it didn't start printing.
Is there something I need to add to the model that will provide instructions for the printer? The person who operates the printer says that most, but not all, of the models he prints in bronze have a border around them when they print, and this one didn't. I don't know if that makes a difference.
3 Answers
Since we do not know more about the printer and its settings it is most likely that the issues lies within the printer and the temperature/print speed settings. Fill materials do print differently than just colored plastic of the same type. Find valid print parameters for the type of filament that you can modify as needed for the printer that is being used (a good first gauge are the offsets the printer has for other type of filaments (thermistors might be offset for example) added to the 'literature values' of the new filament).
It might also be, that the nozzle was not clean when changing filaments and hence the clogging occured. Have you/your printing guy tried a 'cold pull'? How should I clean my extruder when changing materials?
Usually nozzle clogging comes down to knowledge about your printer and experience with the filament.
We print a lot of stuff in a variety of materials, and I think it is likely what you are experiencing is a problem caused by some combination of the following: Object size overall, object detail size, wall thickness, or span width/thickness.
Blender gives pretty clean stls, but the last-mile needed to get output is primarily a materials engineering problem.... (and saying thias, I am assuming you got a valid stl that the printer was able to read and rip...)
A first thought: Try loading your stl into one of the services that price online. Shapeways does, and Cubify does or did... and you can download the driver software for the Form2 even if you don't own the printer.
Bring your stl into these apps and look for error messages. The Shapeways ordering app does a nice job of showing issues, particularly ones like wall thickness and manifold faces/vertices (another possibility I did not mention above) very quickly.
I'd offer to look at your stl if it is something you can share... and/or you can ask your output guy for a sample stl he has printed with some success before. Bring that stl file into Blender beside your model and compare.
I do not recognize a "border" around stls, but all of the printers have preferences for the support sprues that support the model as it is built.... possible that he means these?
In any case, shout if I can help. We have used a lot of materials, but some of them take tweaking -- most often with detail size (how small of a detail you can recreate on the rpinted surface) and step size (how small the steps are inbetween printed layers in additive rinting systems.
Or... just chuck it onto a CNC with a big ole' block of bronze and machine it down! That's pretty old school, but it works, too... just by removing material rather than adding.
Here's a torus at Shapeways I uploaded....
-
$\begingroup$ Sorry -- error messages you'd get from a different service might be helpful in diagnosing your issue -- but might not be applicable, either. I was just thinking of ways to confirm your stl file's validity in the wider 3D printing world. $\endgroup$– rcgauerCommented Apr 13, 2016 at 22:17
The border that the operator is most likely referring to is called a brim or skirt and is typically handled by the Slicing software that the operator uses to convert the 3D solid model into the machine code for the 3D printer to run.
I'd recommend double checking the settings in Cura for a brim/skirt. This function will make the machine print a small outer layer a few millimeters away from the part itself. The outer layer gets the filament flowing and hopefully will dislodge any clogs the machine might have.
-
$\begingroup$ Yes. And with a new or difficult material, it might be worth using the printer's LCD menu (if present) or control software to manually extrude some filament before even trying to run a part file at all. On some printers you have to do this by commanding it to heat the nozzle and then finding the menu where you can move the extruder (or it is geared, disables the steppers and turn it by hand). On others, there's a move filament or manual extrude setting that achieves temperature and movement together. $\endgroup$ Commented Apr 17, 2016 at 19:14
-
$\begingroup$ Yeah, I've manually extruded filament on my Replicator before and most often it's been a good indicator that my drive gear needs to be cleaned. For instance, I'll manually extrude the filament using the LCD, but it takes a little force at first to get it going. However when the print starts and the stepper motor makes such small increments, it's not able to catch onto the filament. So, I disassemble the extruder to clean the drive gear and all is good. $\endgroup$– tbm0115Commented Apr 17, 2016 at 19:28
