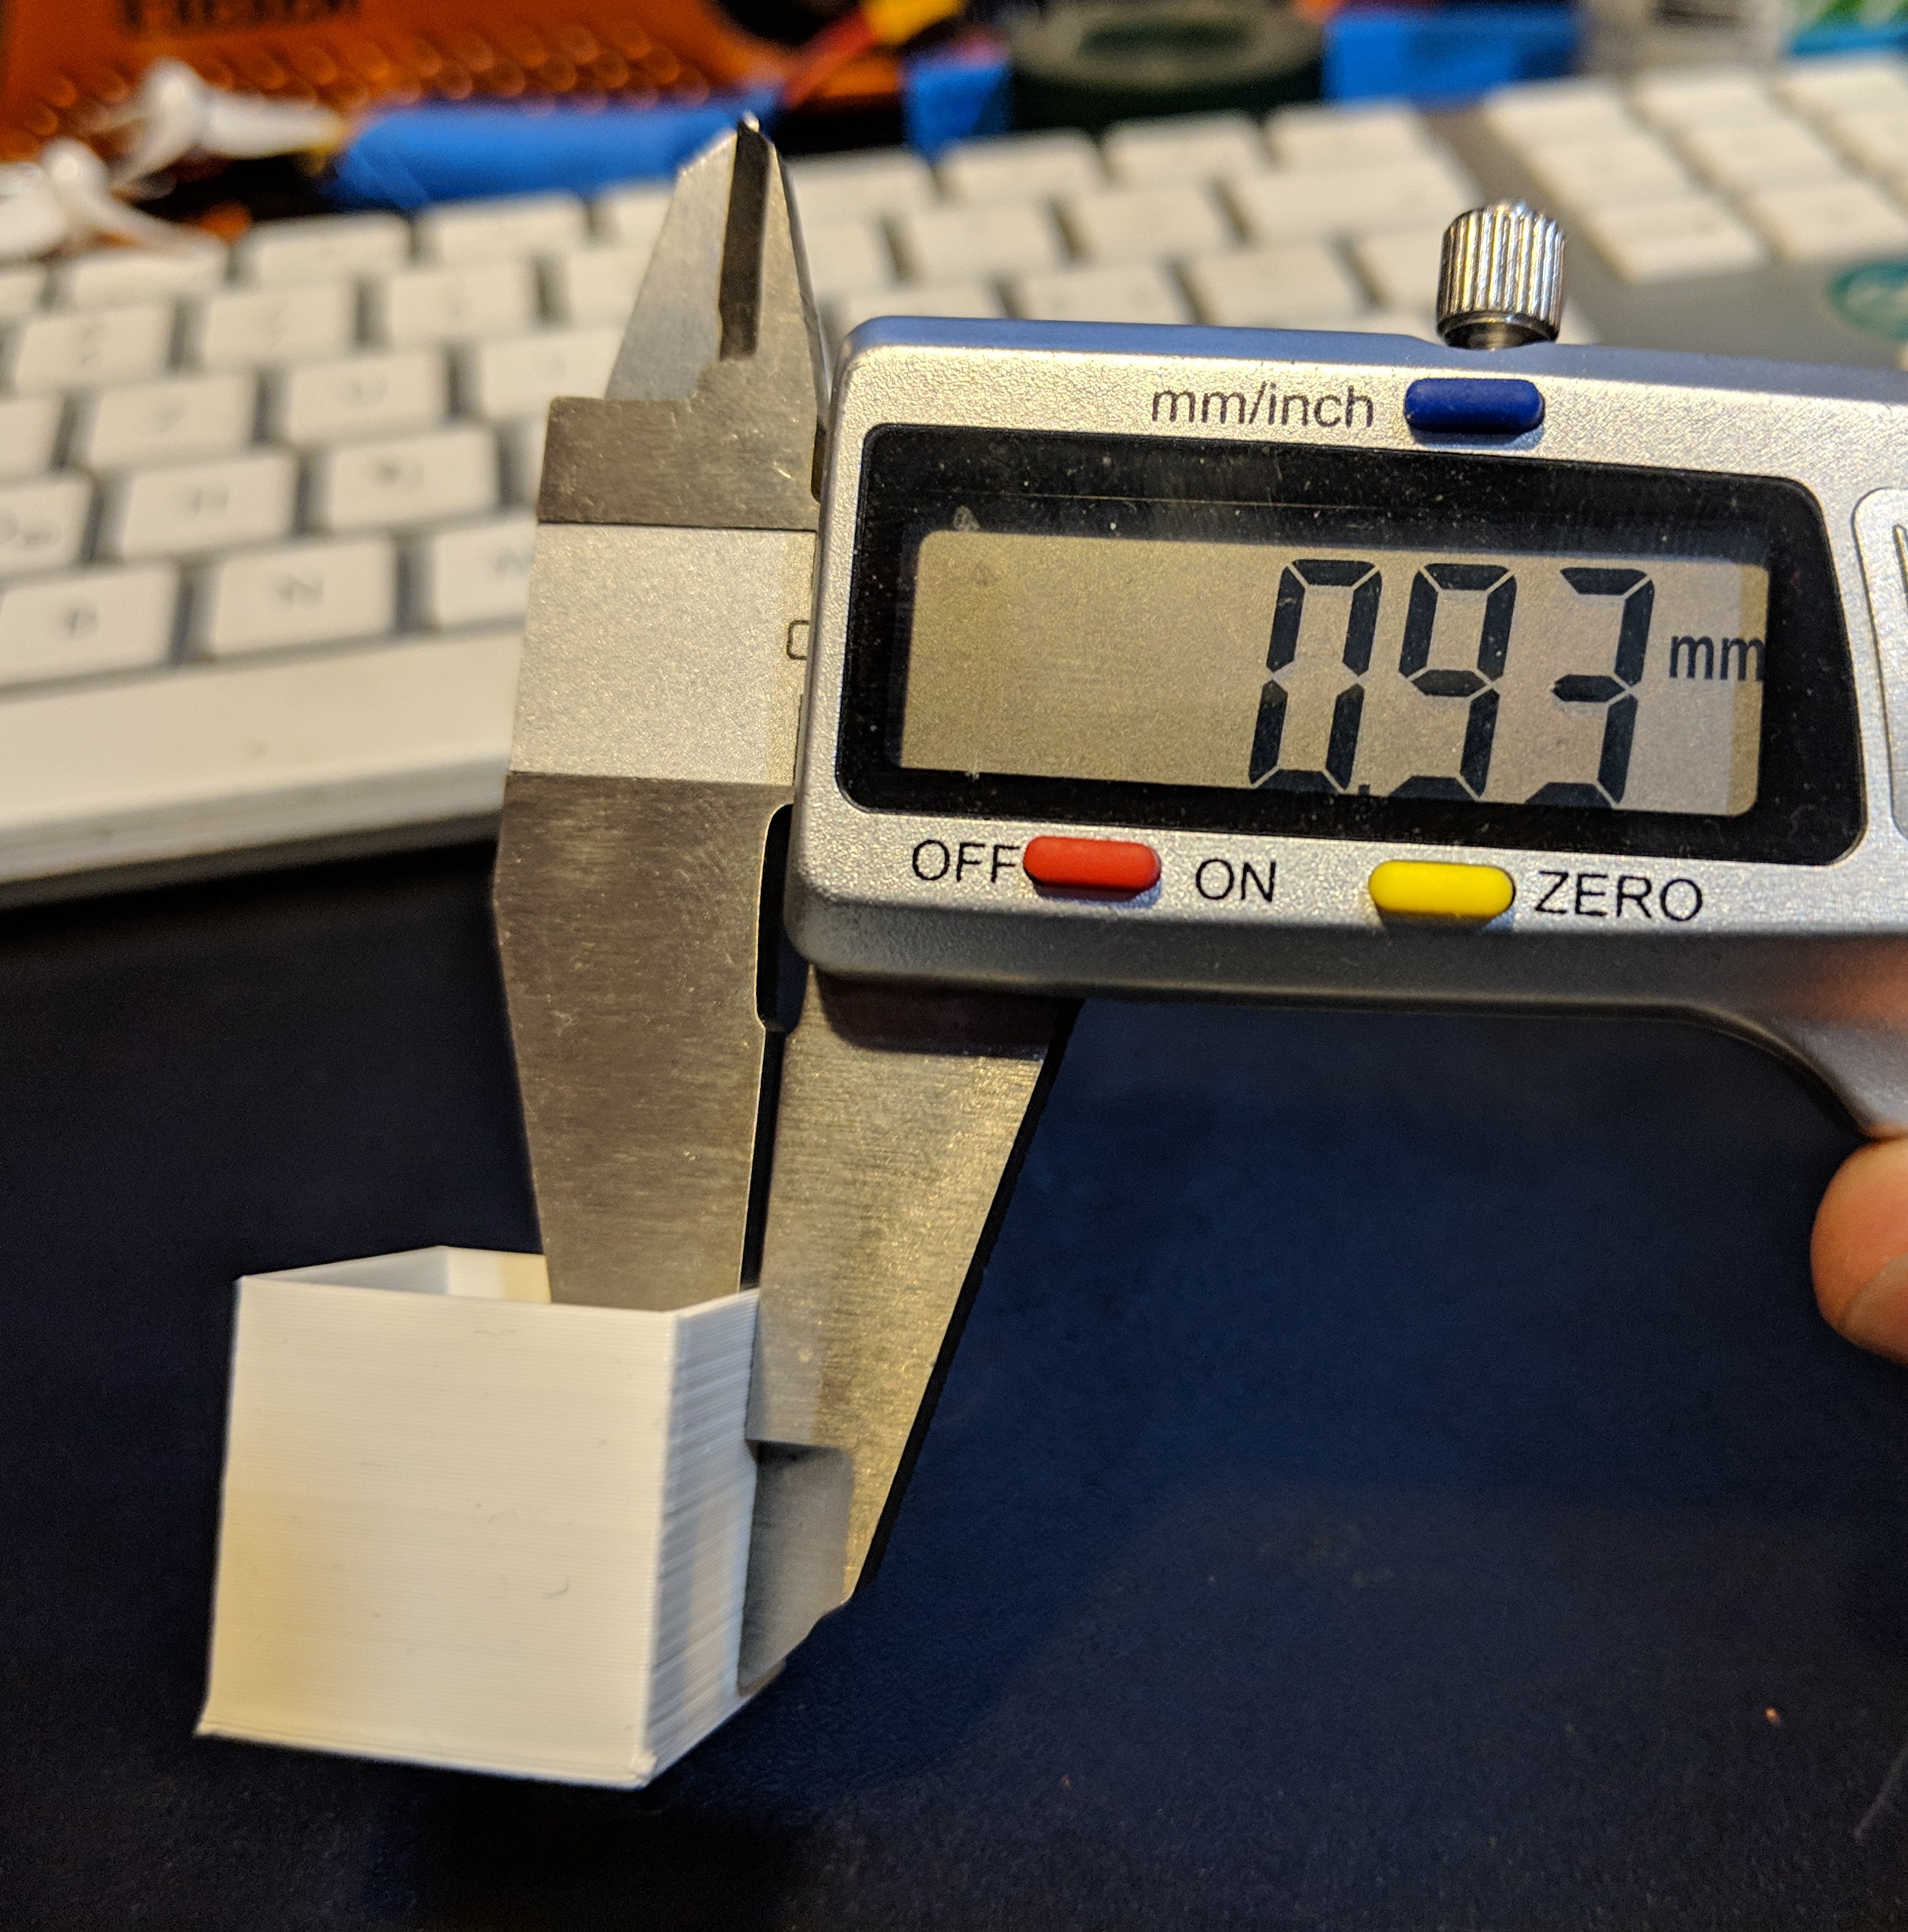
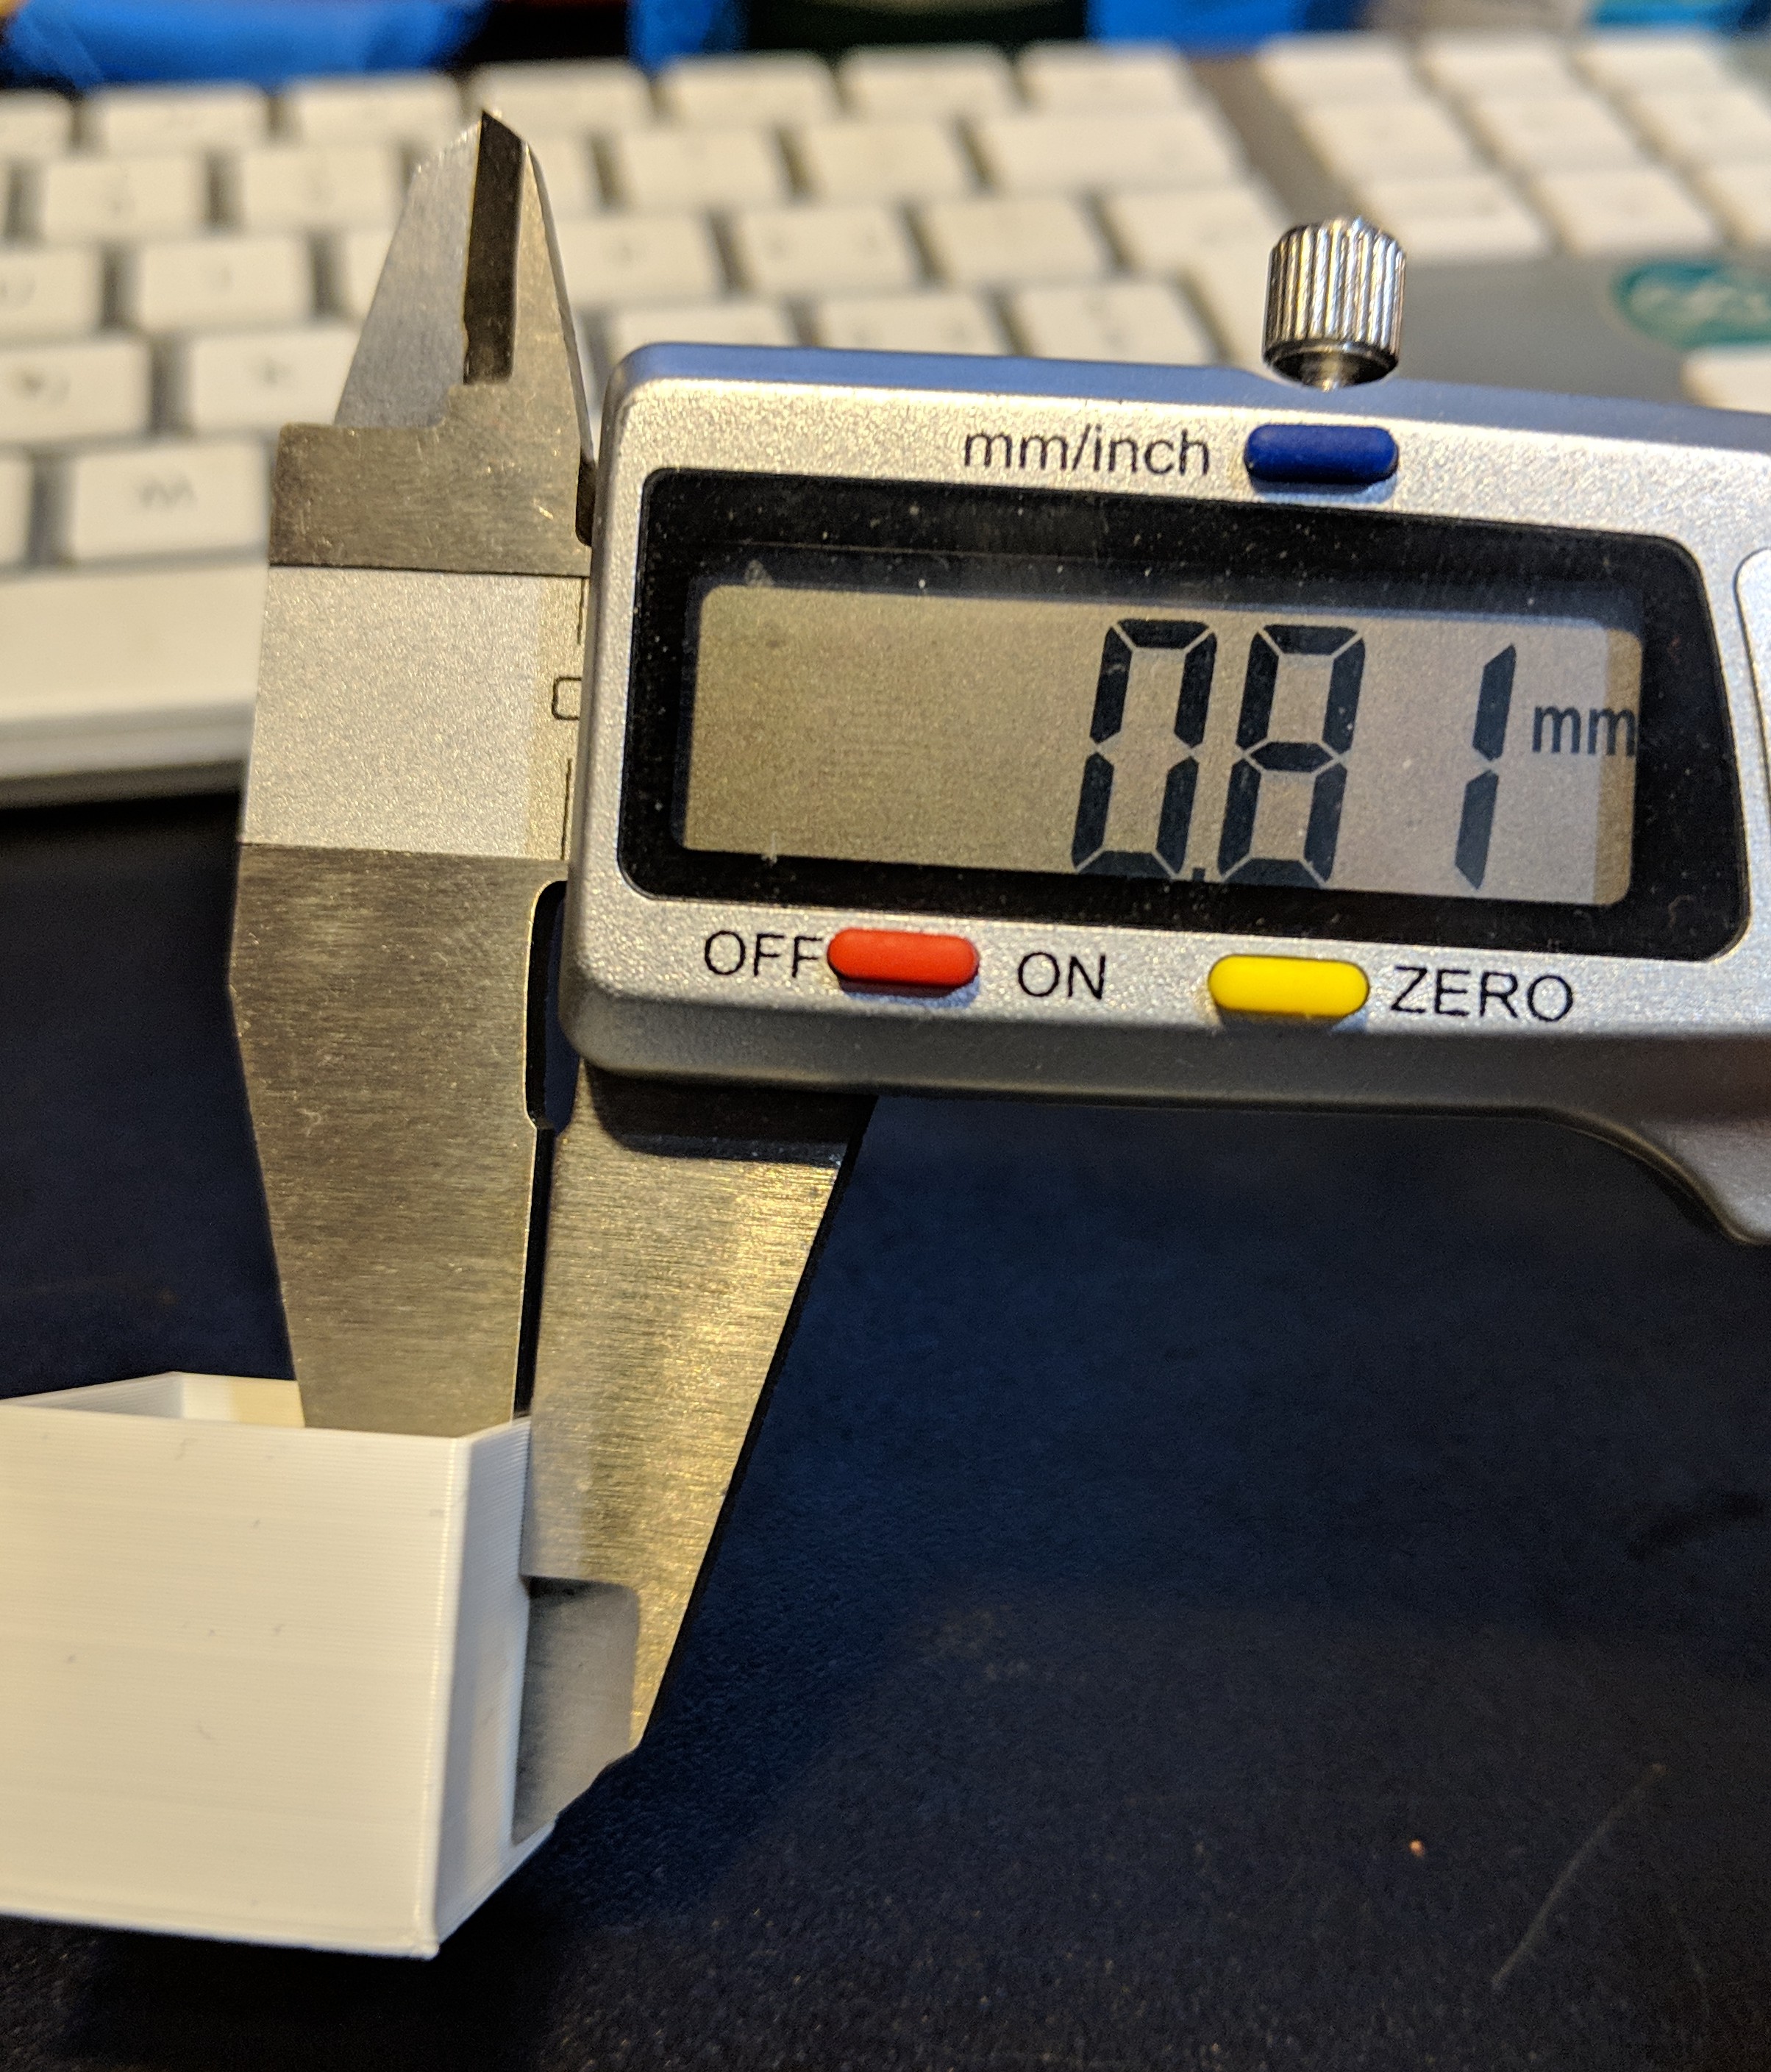
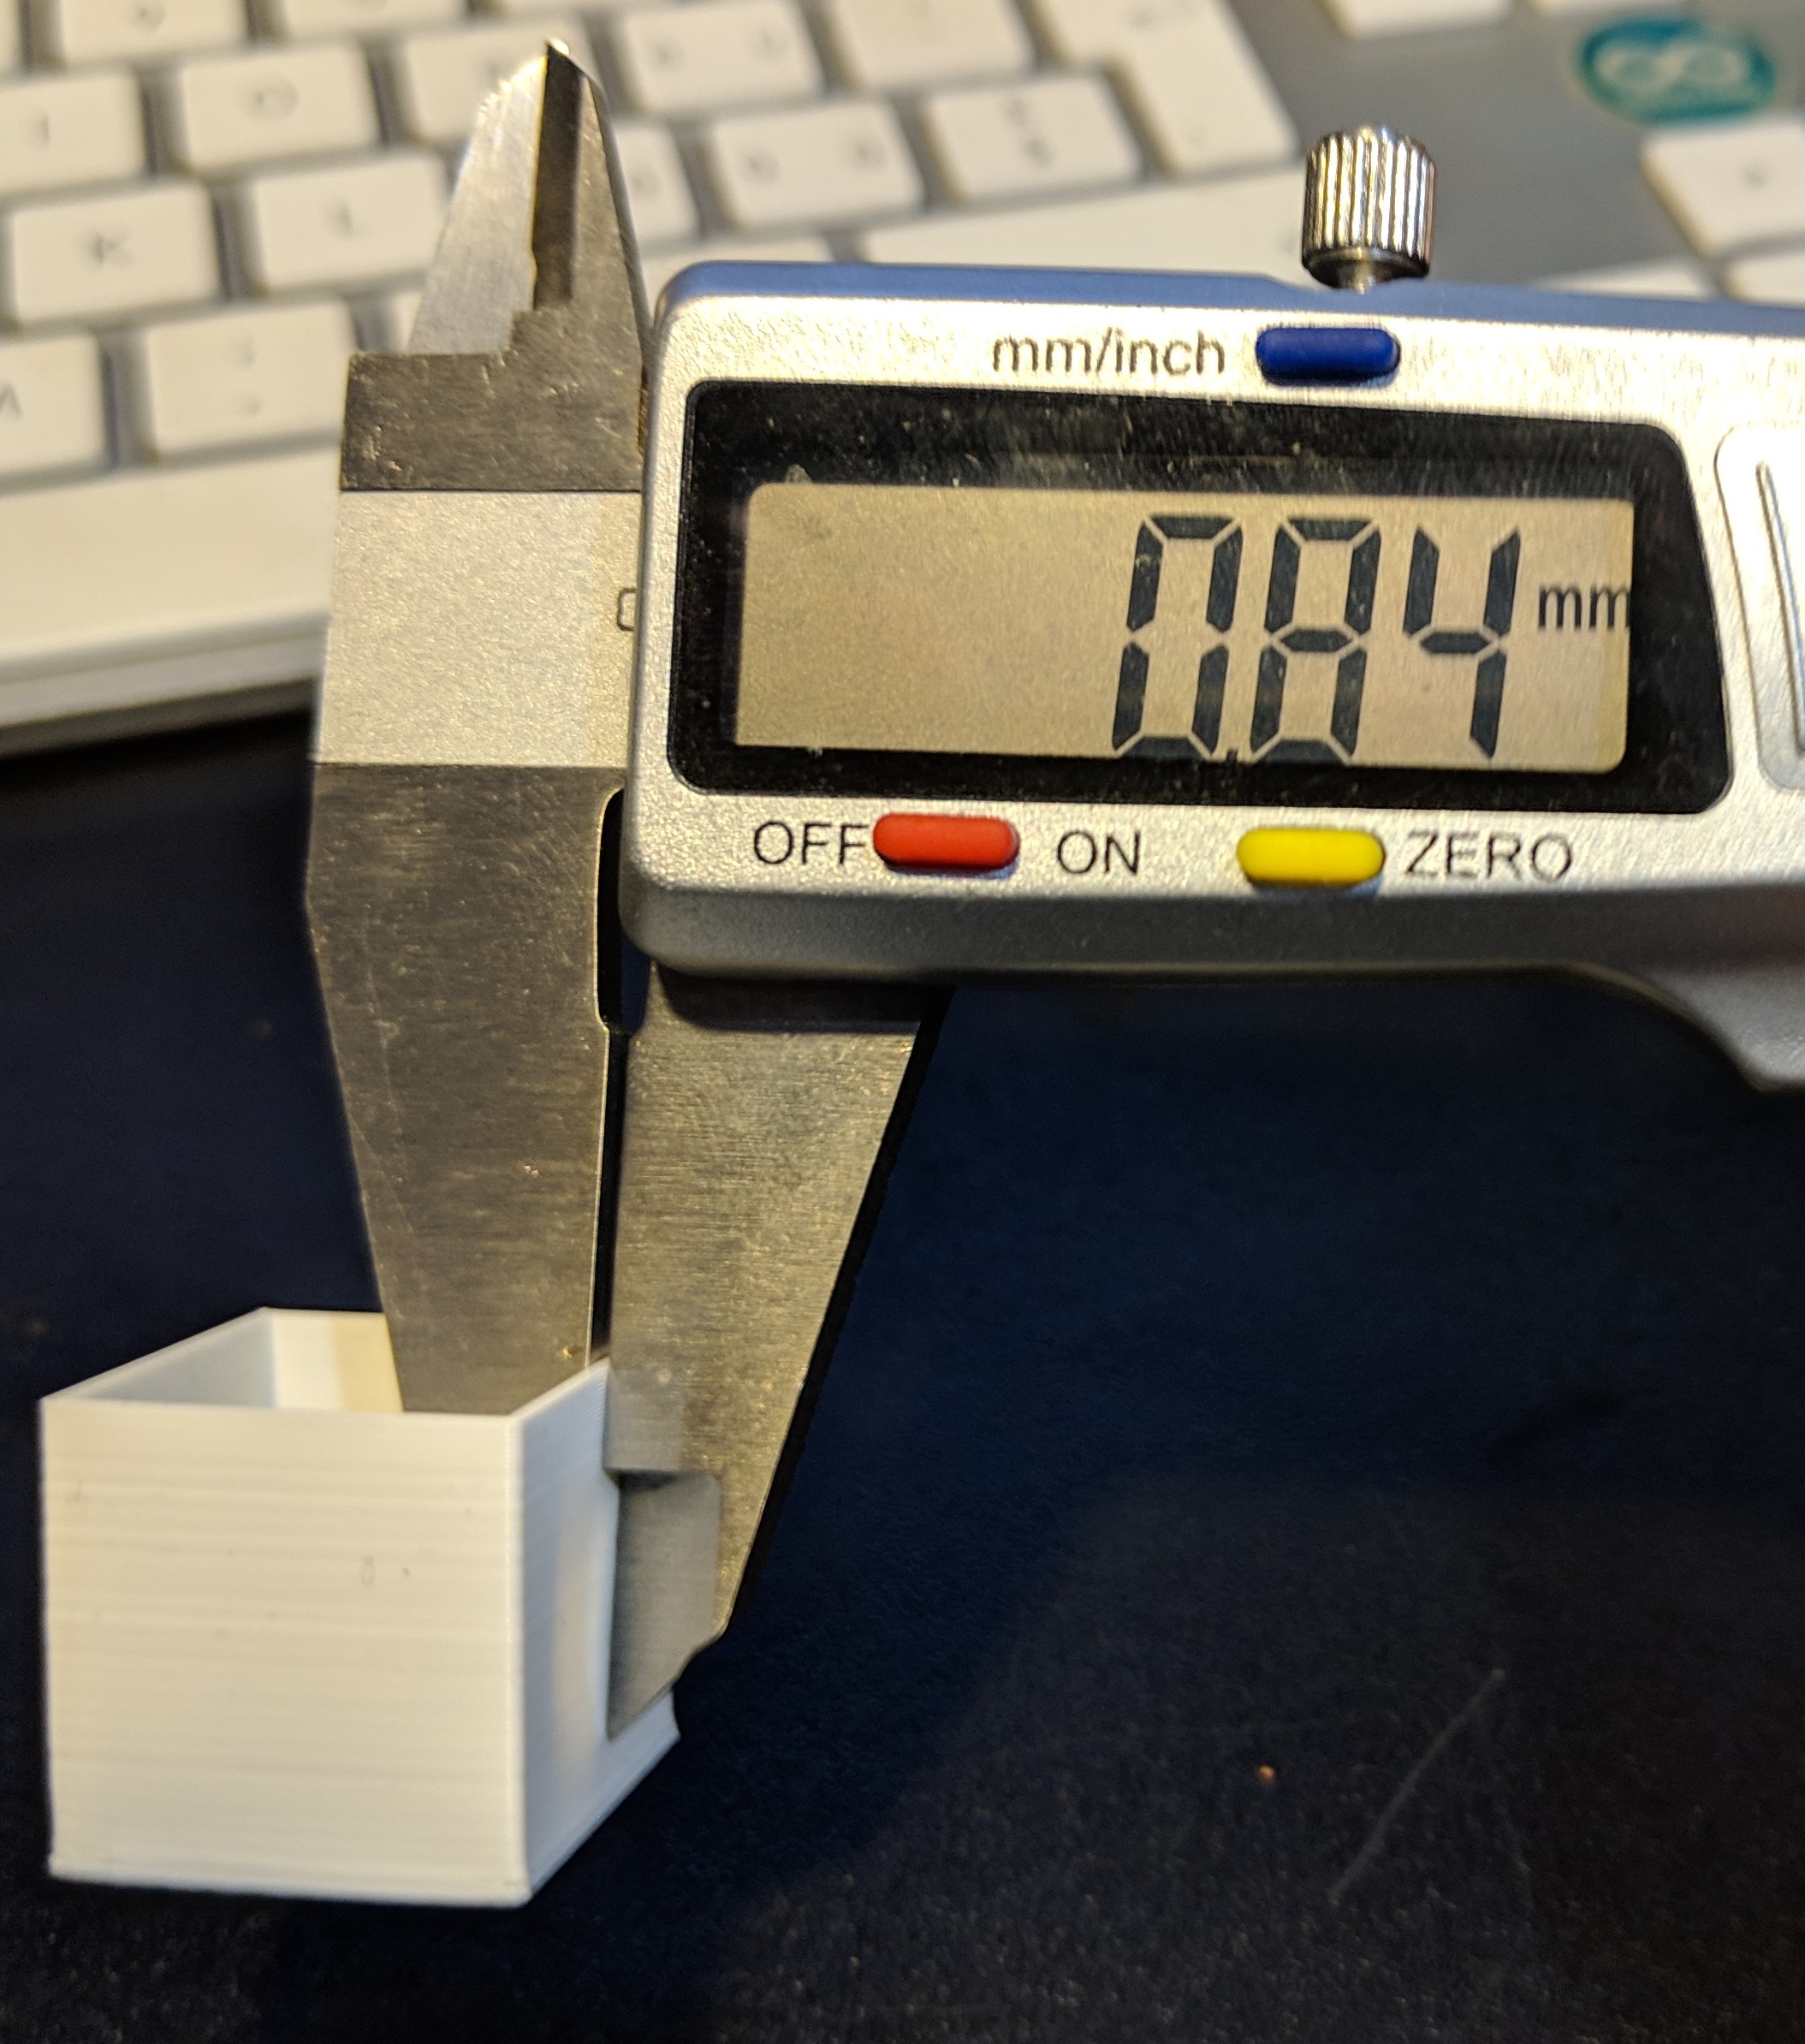
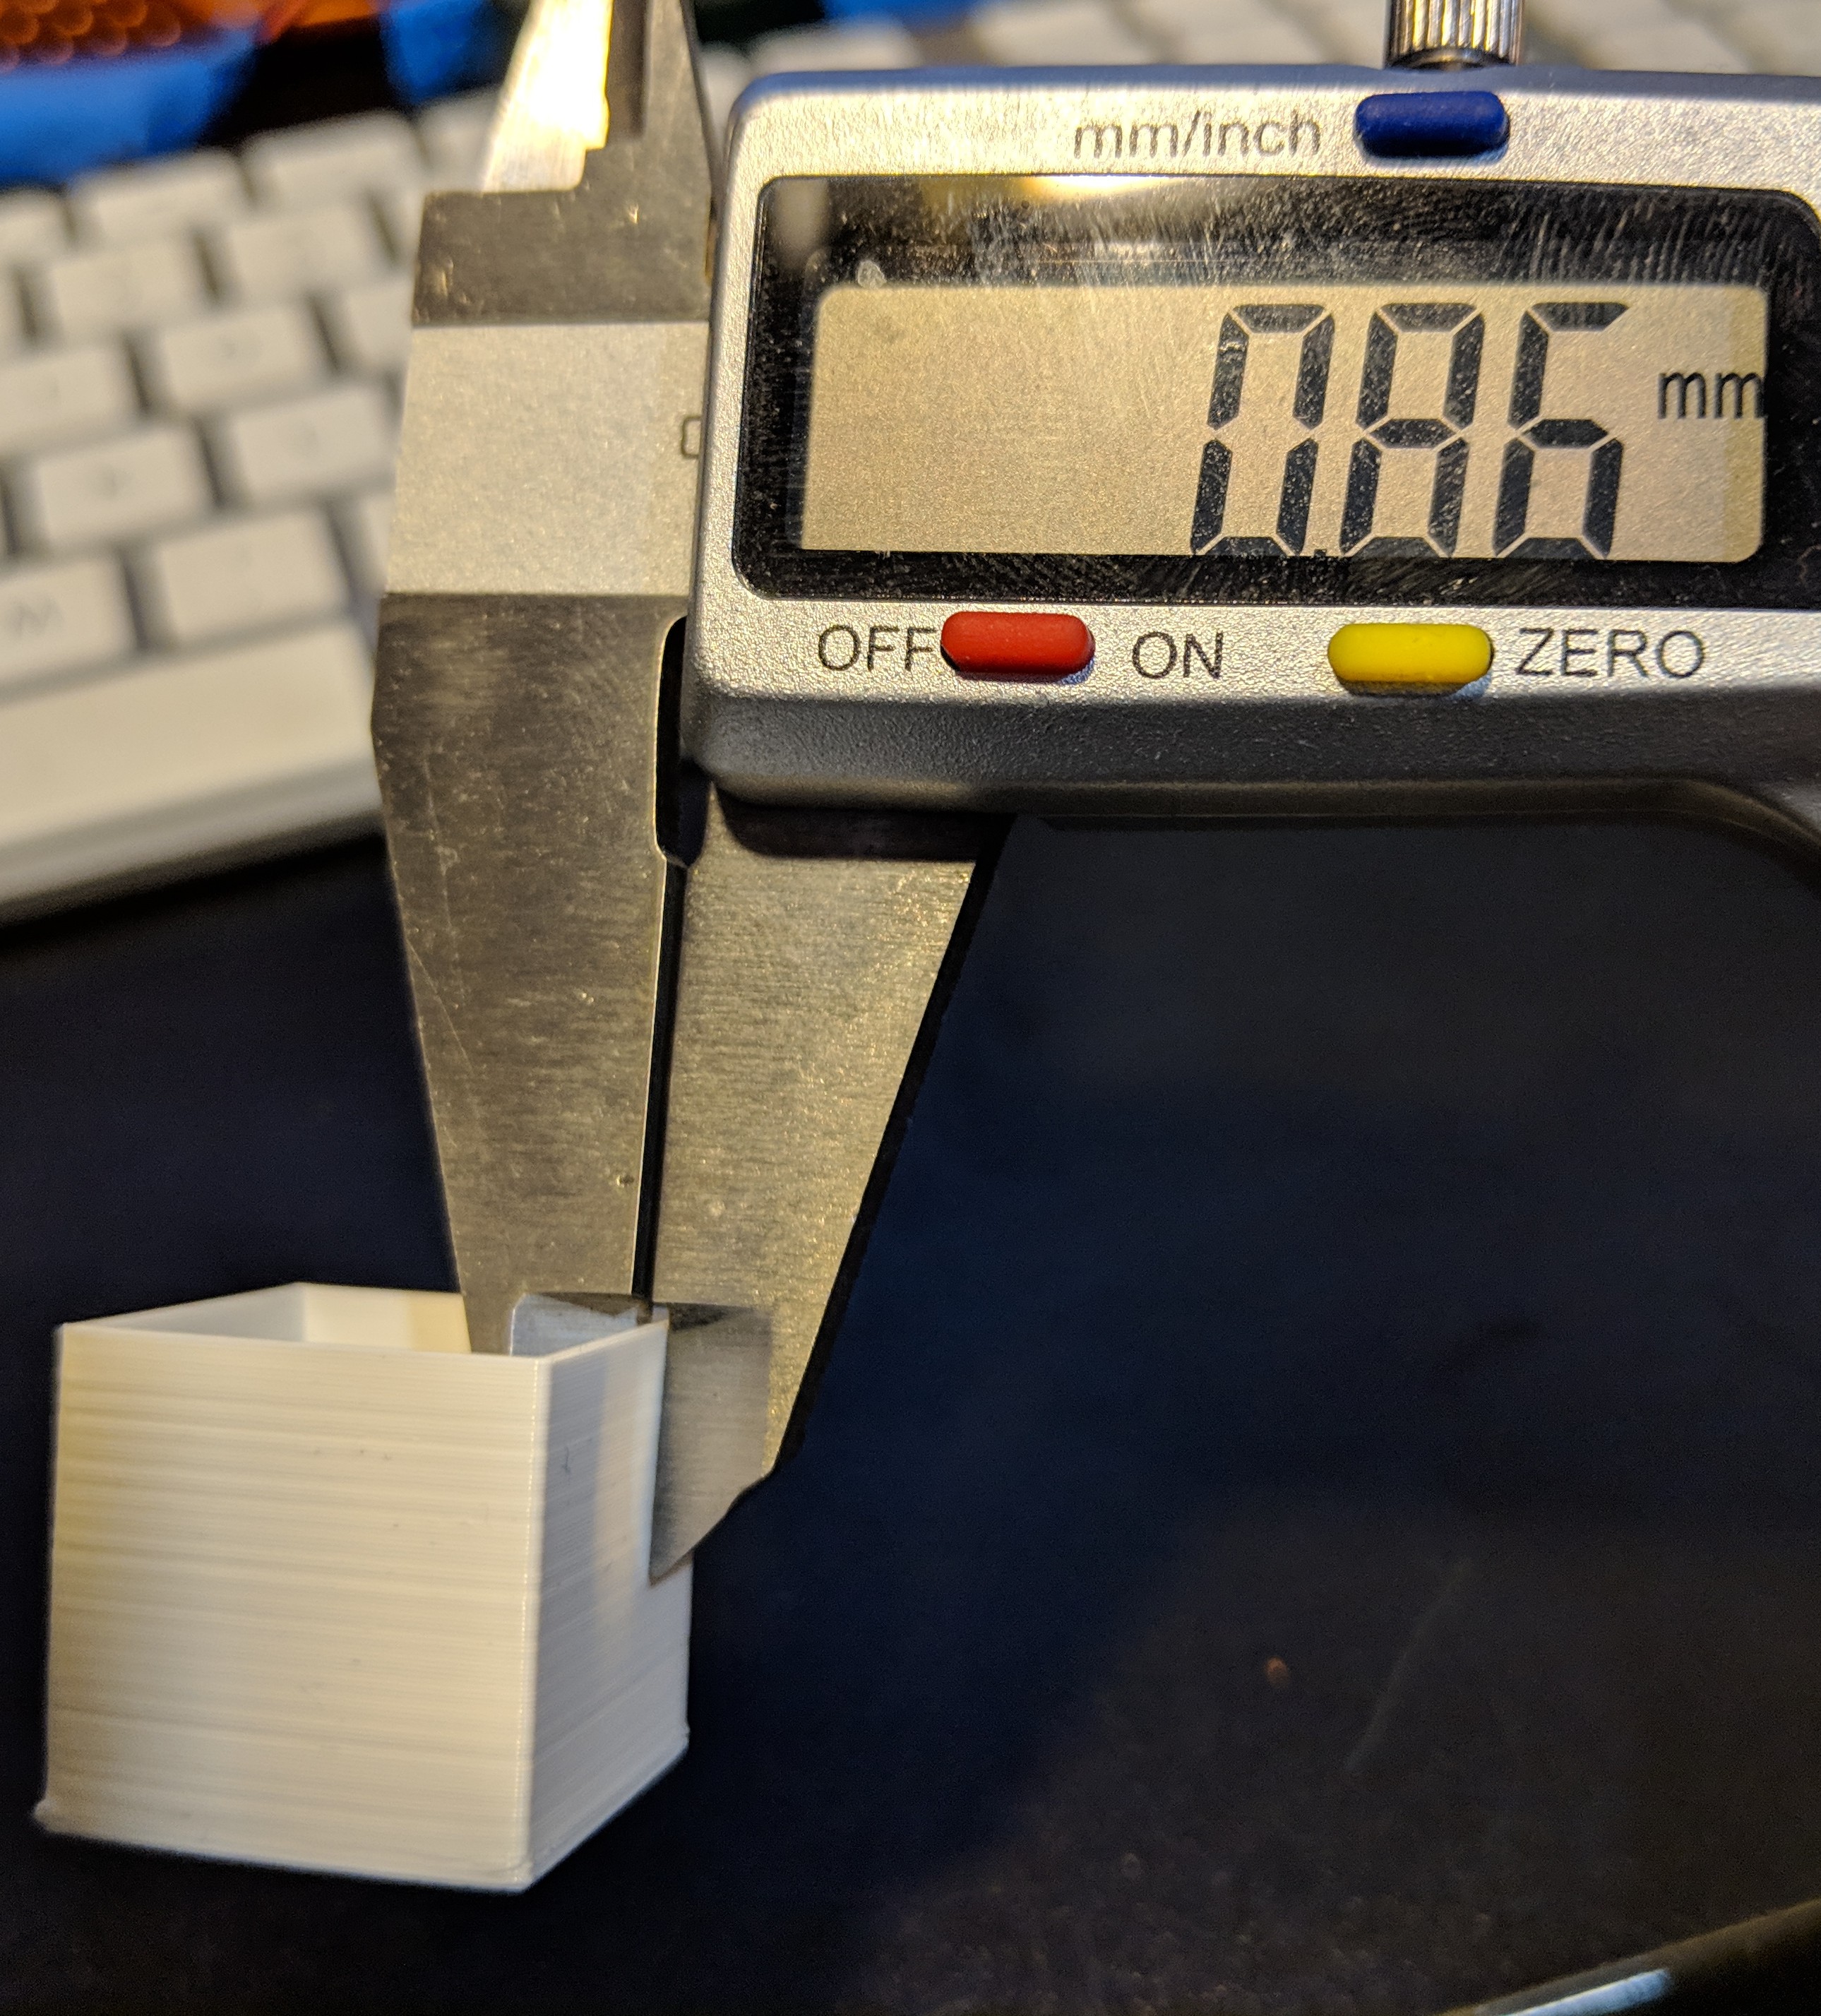
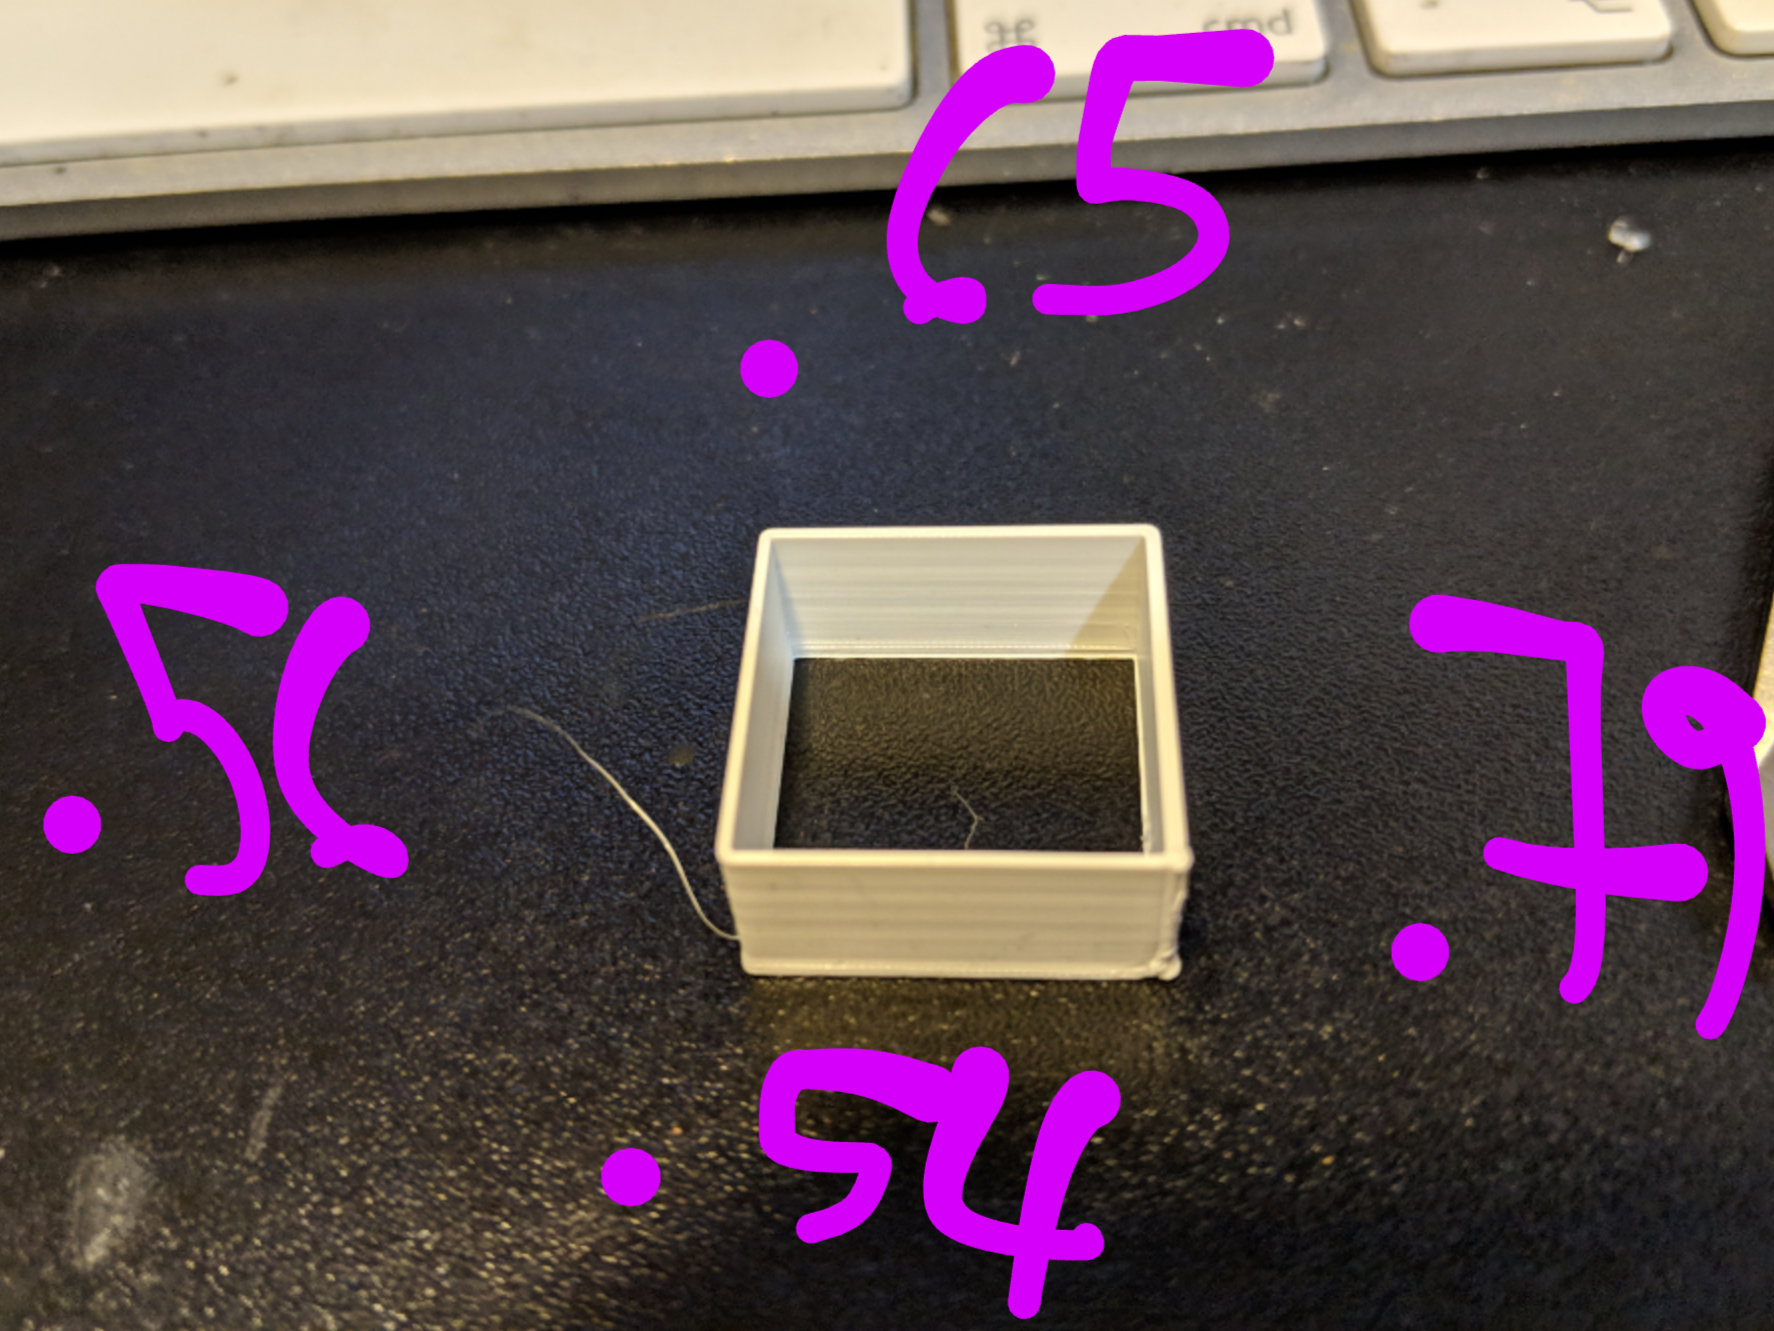
Why not that test print?
You don't want a print constraining your walls to 0.8 mm, since you don't want to print with 1 nozzle diameter for better print quality. Atop that, slicing can induce errors that increase the thickness of walls without us noticing it in the slicer view. Two sources of error (once for each wall)
means an additional 10% error, which would bring the wall as you got perfectly into the expected area: $0.8\text{ mm}\times 1,1\times 1,1=0.968\text{ mm}$
Let's Troubleshoot!
You might not have calibrated the extrusion multiplier correctly, or the steps/mm might be off, or other print settings shoot us way off. Let's make sure to find the source.
Filament extrusion multiplier
- use a solid cube as a base, for example, https://www.thingiverse.com/thing:38108
- set
line width to 0.45 mm to counteract errors from die swell and get a better print result in general1
- $d_\text{line width}=0.45\text{ mm}$
- set the number of walls/perimeters to 1
- set
infill to 0%
- set
top layers to 0
- set the
extrusion multiplier to 100 %
- print the cube (or half of it, Z-height does not matter too much) with no top and infill and 1 perimeter
- re-measure the walls
Done that? Math time to calculate the correct multiplier for the filament! The average wall is easy:$$d_\text {average}={\frac{\sum_{i=1}^4 d_i}{4}}$$ $$\frac{d_\text{line width}\times p}{d_\text {average}}=\text{Extrusion multiplier}$$
Remember, that the result is not in % but a float point number! 1 is 100%. So you fill in that value times 100 into the extrusion multiplier.
After this, repeat the whole process with 2 perimeters.
1 - further reading: Why is it conventional to set line width > nozzle diameter? & Slicer line width vs. extrusion multiplier for layer adhesion?
Steps/mm
Make sure to test the extruder against the heated extruder, then repeat the calibration as your tutorial explained.
For some tests, let's fudge to some degree: Trying a filament dependant value of steps per millimeter can help to try to find other sources of errors easier - it makes them at times more pronounced. So we just multiply our steps/mm with the extrusion multiplier that we calculate the way outlined below. For 428 steps/mm and the numbers from Update 3, this gives about 306 steps/mm. This is not a proper calibration, but a means for troubleshooting. After fudging with the parameters reset the extrusion multiplier to 100%, we just want to check what influences our thickness.
Other print settings
- 215 °C is way hot. Even if it can increase print strength in solid prints, it is usually better to print at 200 °C and less.
- Reduce retraction, possibly to 4 mm or maybe even 3 mm.
Lower temperature and less retraction should get prints more consistent, as pressure changes in the nozzle are more consistent. Remember, we are playing with the settings here.
And now Properly
Back to Calibration!
After all the fudging and probably making everything worse, we got to make sure to properly calibrate, those settings will be WAY OFF, in fact, we might go back to the original steps/mm or higher:
- Note the current steps/mm as $s$.
- Mark the 150mm from the extruder intake. remember if you marked on the close or far side... or simply cut the filament as exact as you can.
- Heat the hotend
- send a
G1 E100 F100
- Measure the distance to the extruder intake afterwards as $d$ to get the actual extruded filament $e$. Make sure to measure the same side of the marking!
- $(150-d)=e$
- $\frac{s\times 100}{e}=s^*$ as the corrected steps/mm
- send
M92 E###.## with ###.## taking the $s^*$
- send
M500 to store the value to the EEPROM
Extrusion/Flow Calibration
Now, go back to print a single filament extrusion multiplier calibration, as above. It should be somewhat close(er) to 100% now.
Slicer Fault?
Note that not all Slicers are equal: some slicers are better and more consistent in the results than others with the stock settings, and even with the same settings results may varry. For example the line width for the same settings with Simplify3D and Cura or Slic3r Prusa Edition can differ. The reasons for this are hard to find exactly, but they are most likely rooted in the different slicing processes and optimisation. Sometimes it is some setting that might be overlooked that results in line width variations.
The Slicer world changed a lot betwene 2015 and 2019, and even if you got fed up with one slicer years ago, now it might be worth a shot to test it again. See if you might get better results with other slicers, as for whatever reason, your slicer might cause the issiues, whih allows you to hunt down setting dependant items.
